NEXGEN / SELECTED WORK
The difference
is in the details.
Real spaces. Thoughtful improvements. Explore finished interiors, the details that bring them together, and the work behind the finish.
Explore before & after ↓
BEFORE & AFTER
From a plain wall
to a focal point.
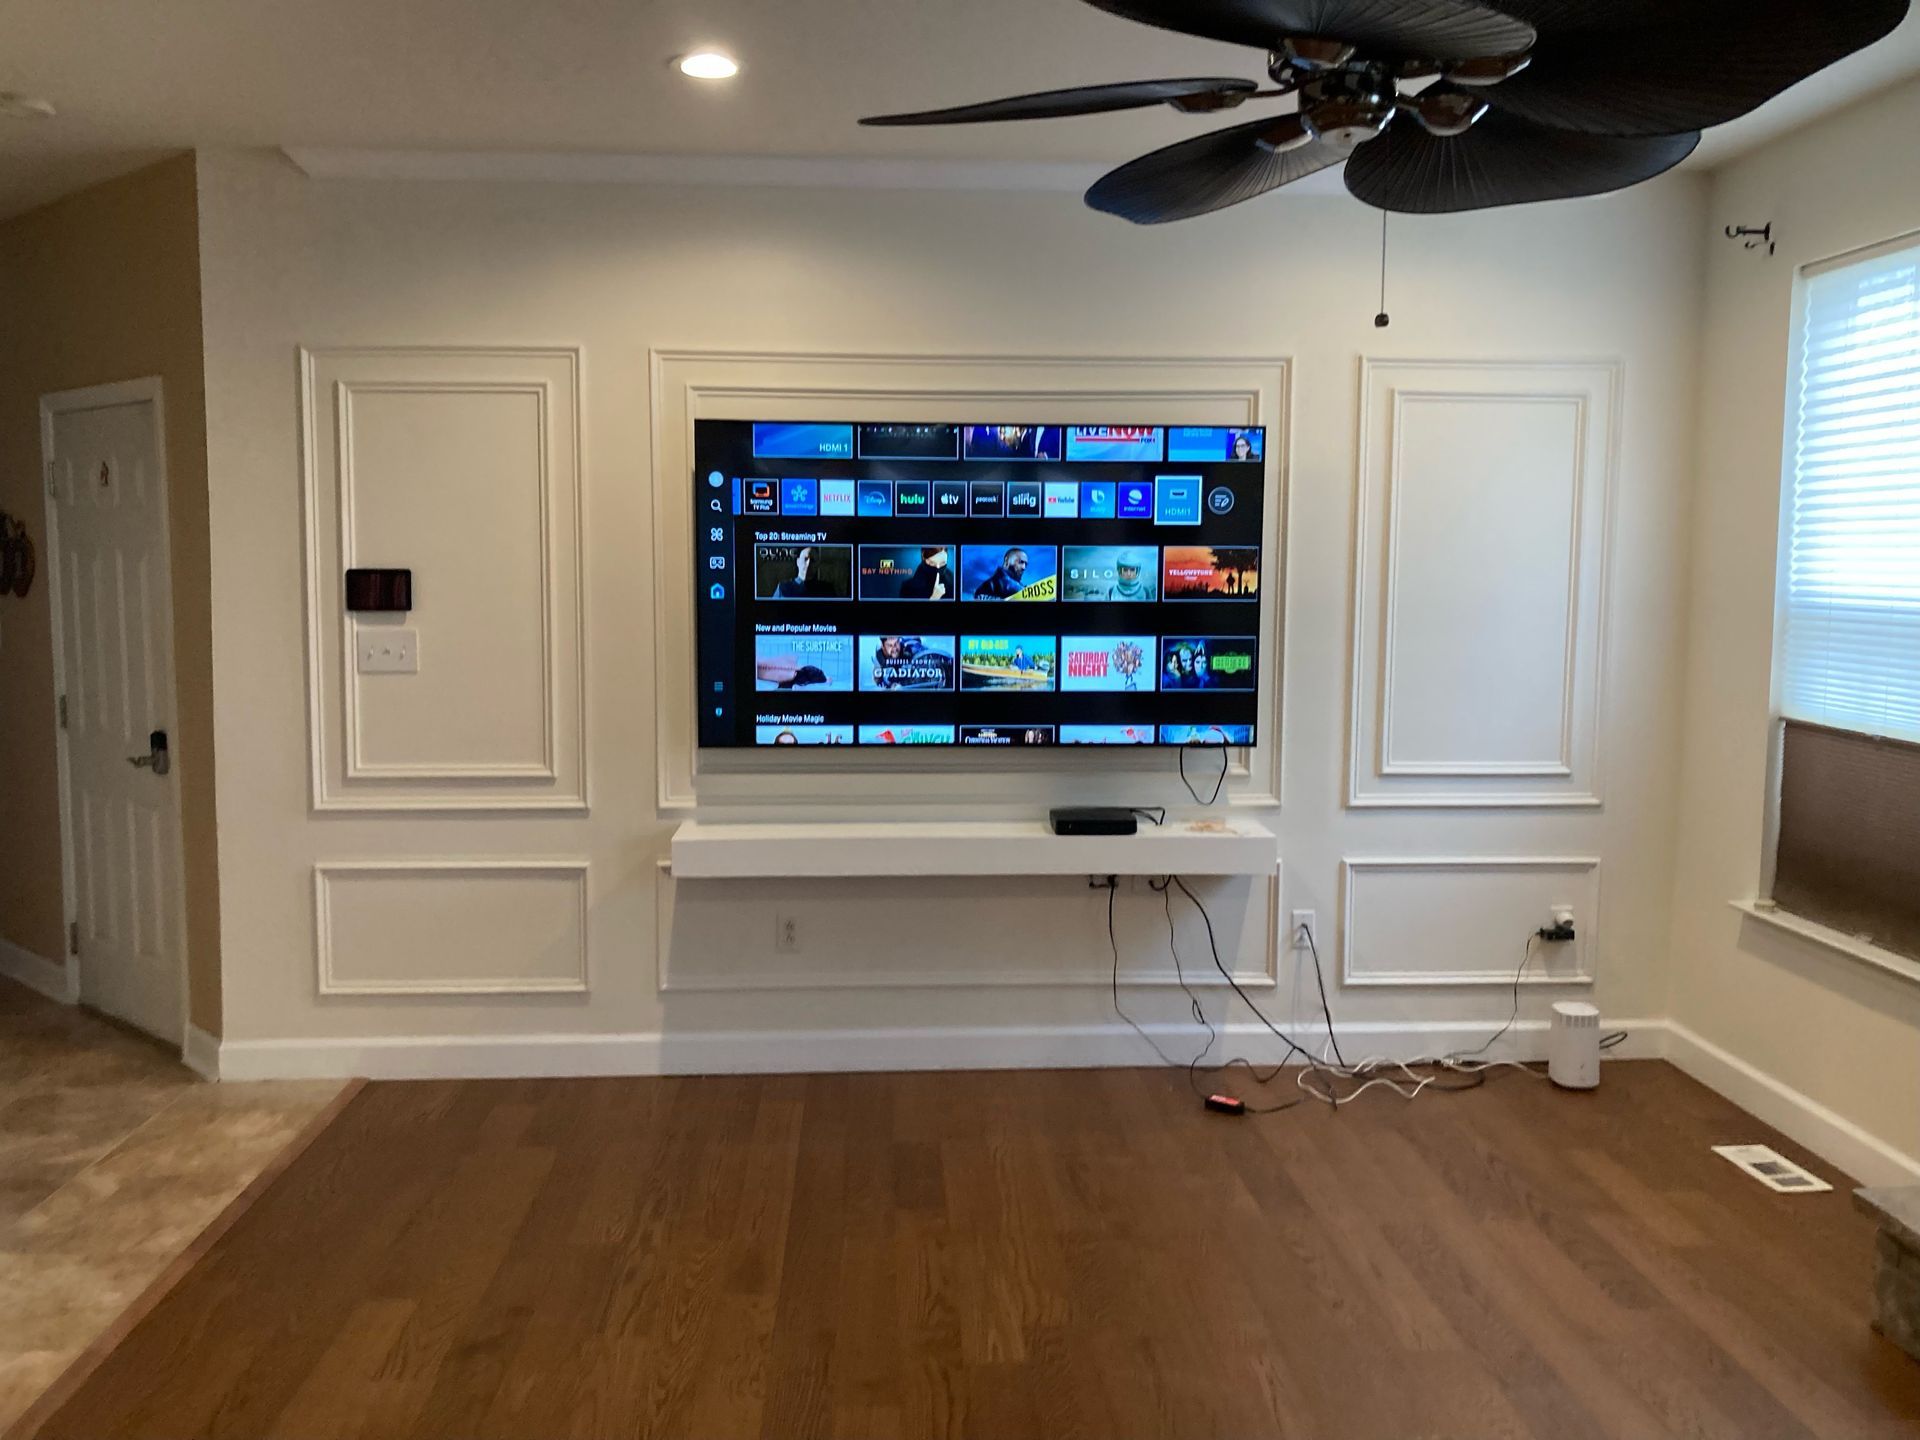
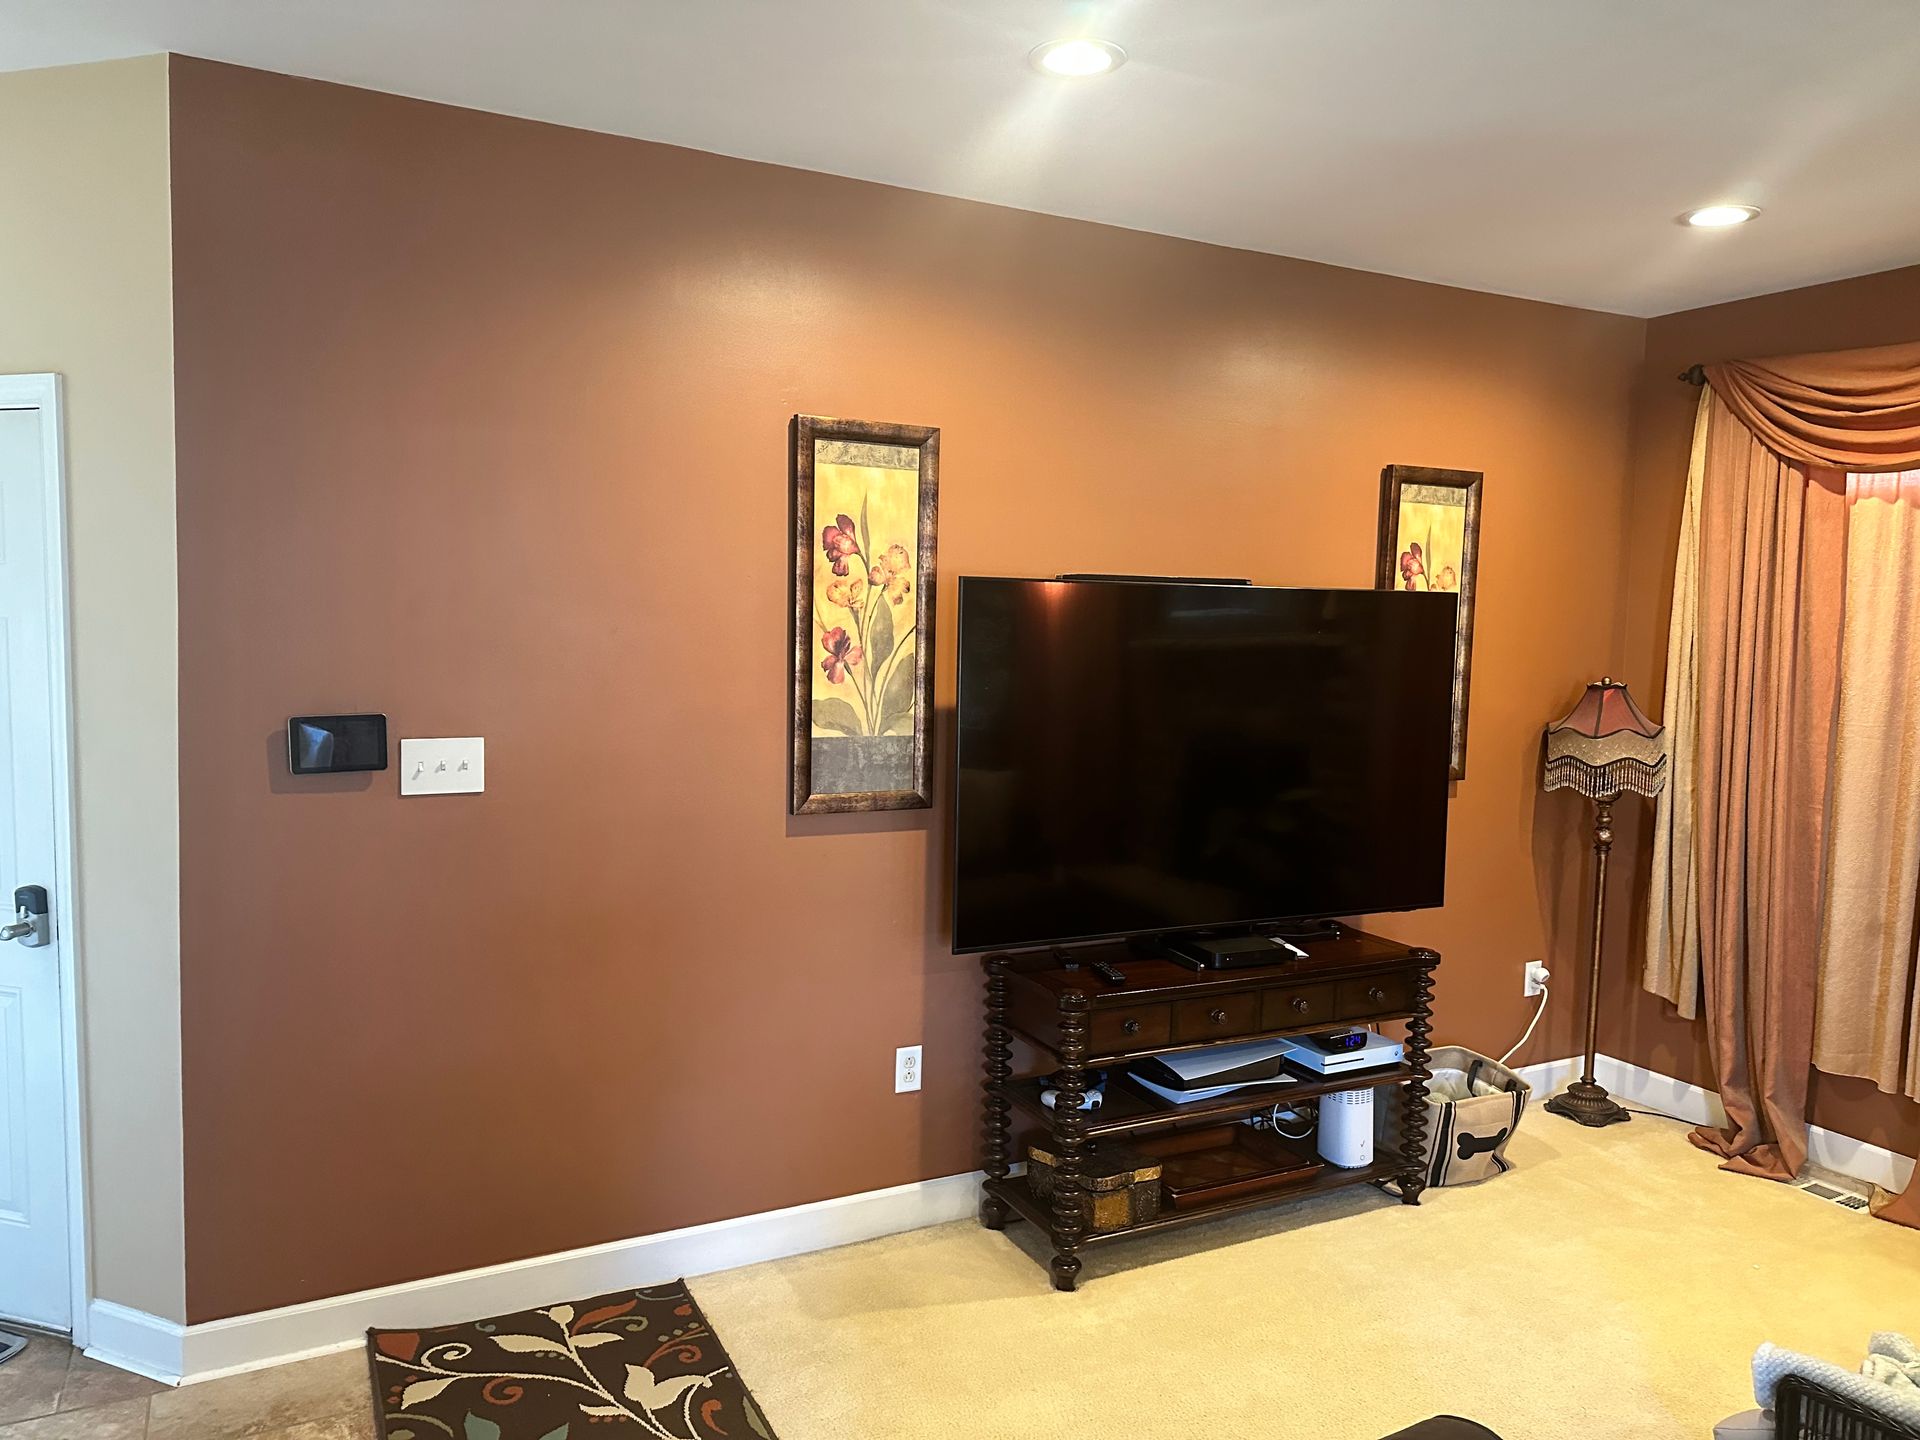
Decorative mouldings, a framed television, and a lighter finish give this living-room wall a completely different presence.
Look closer at this transformation
The starting point
The original view shows a brown wall with the television resting on a stand. The broad wall surface sits behind the screen and furniture.
The visible change
In the finished view, a lighter wall and decorative moulding create a more defined arrangement around the mounted television. The repeated rectangular details give the wall structure and make the screen part of the overall composition.
Ideas for your own space
Think about the wall as a whole: the screen position, furniture below it, and the proportions of any trim. Bring an overall room photo and a closer wall photo when discussing a similar project.
Discuss a feature-wall idea →Drag the divider to move between the original space and the finished result.
BEFORE & AFTER / WINDOW DETAILS
A window,
beautifully framed.
A shaped cornice and full-length drapery give this dining-room window a more finished presence. Explore two views of the original window and the completed treatment.
Explore the window details
The starting point
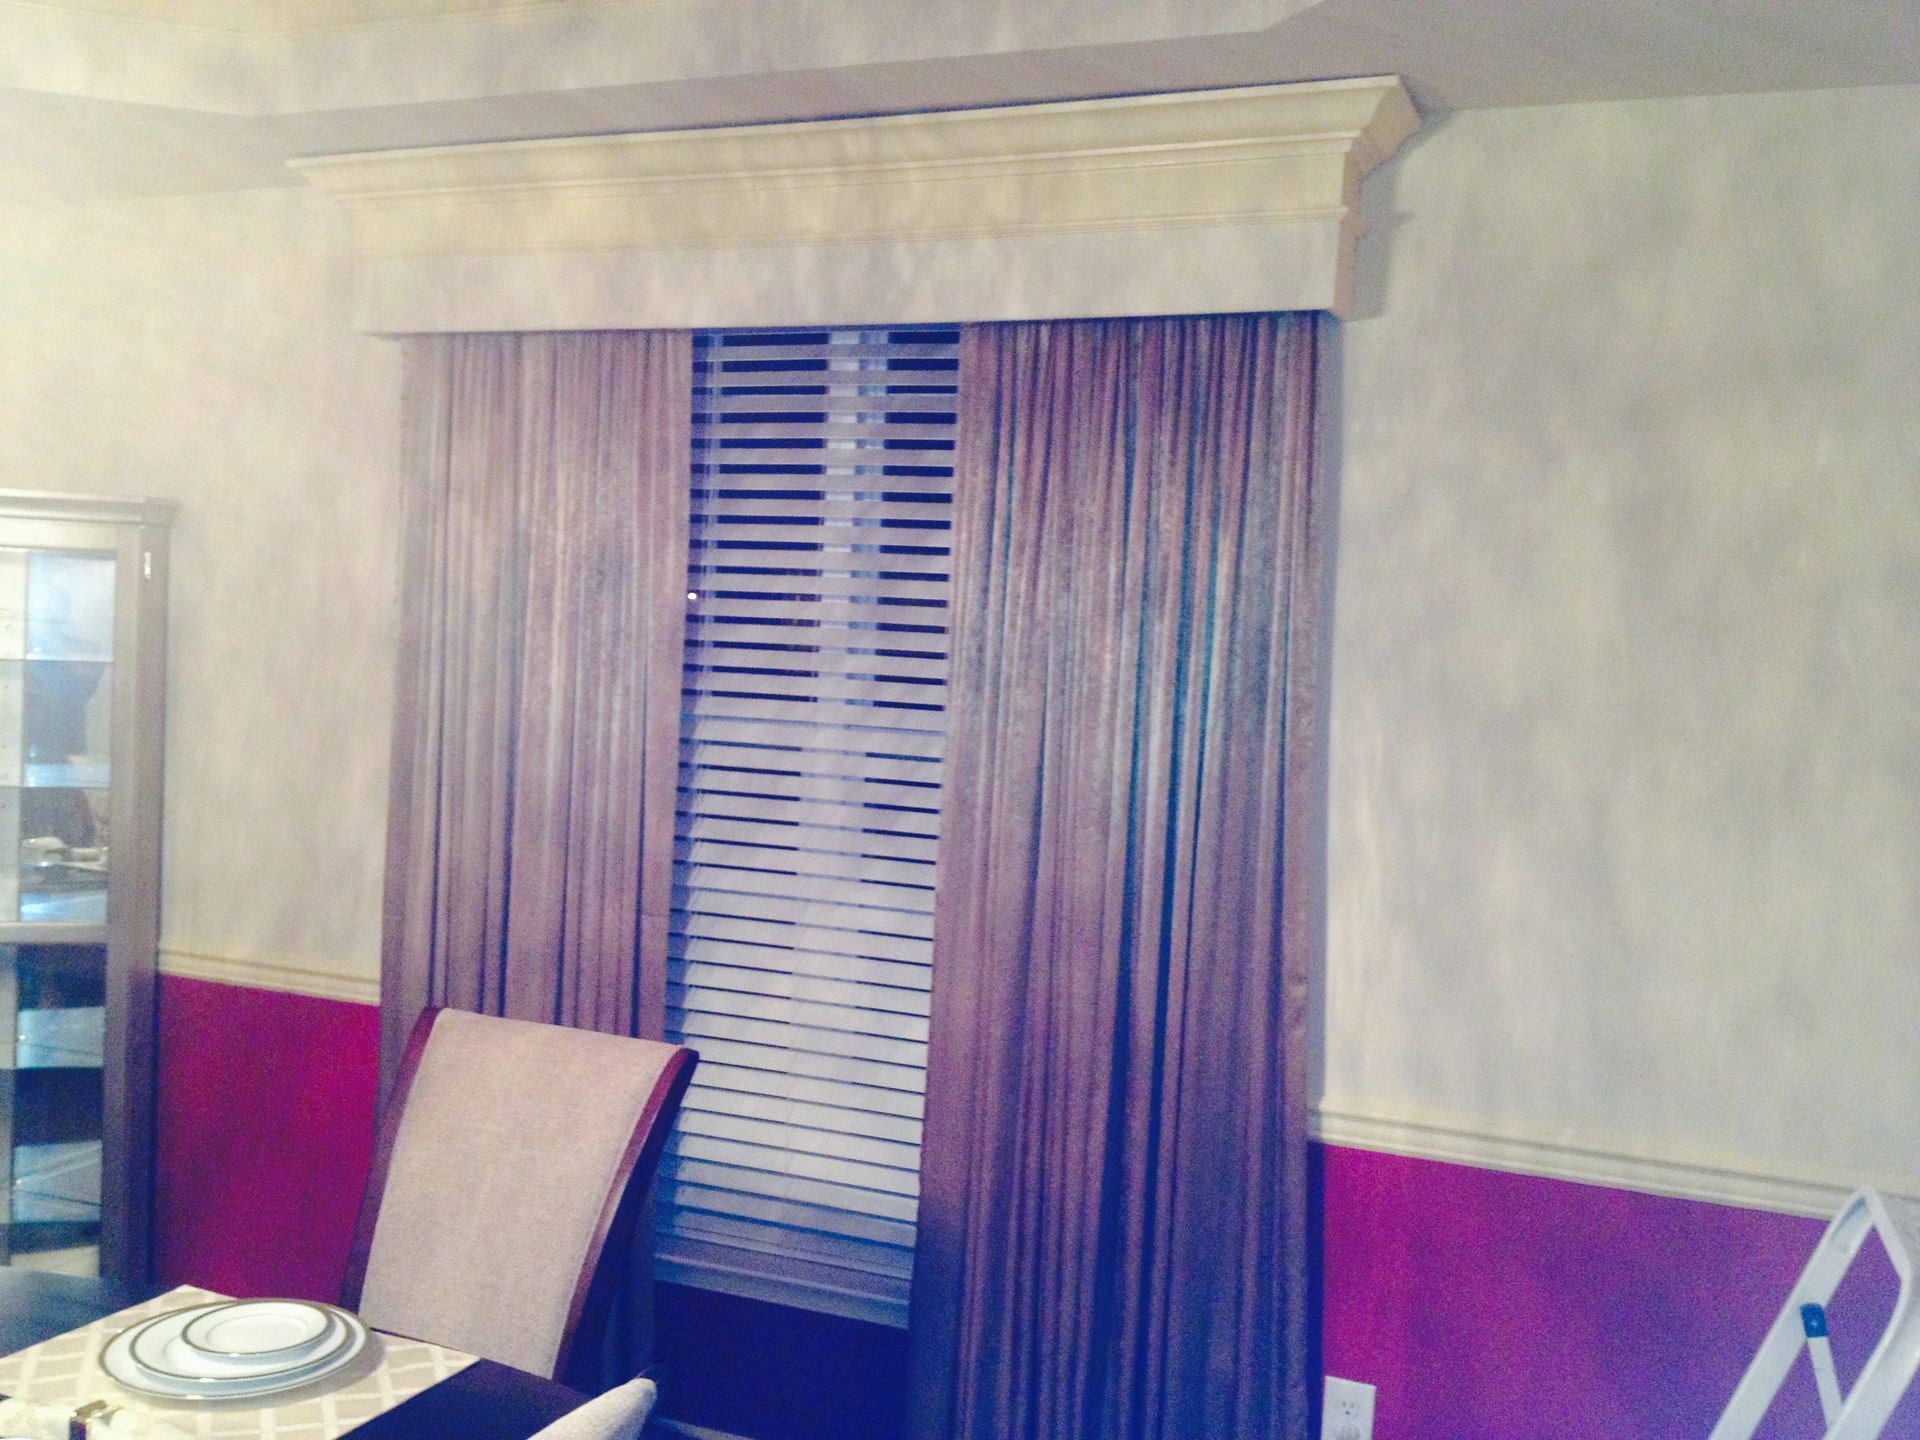
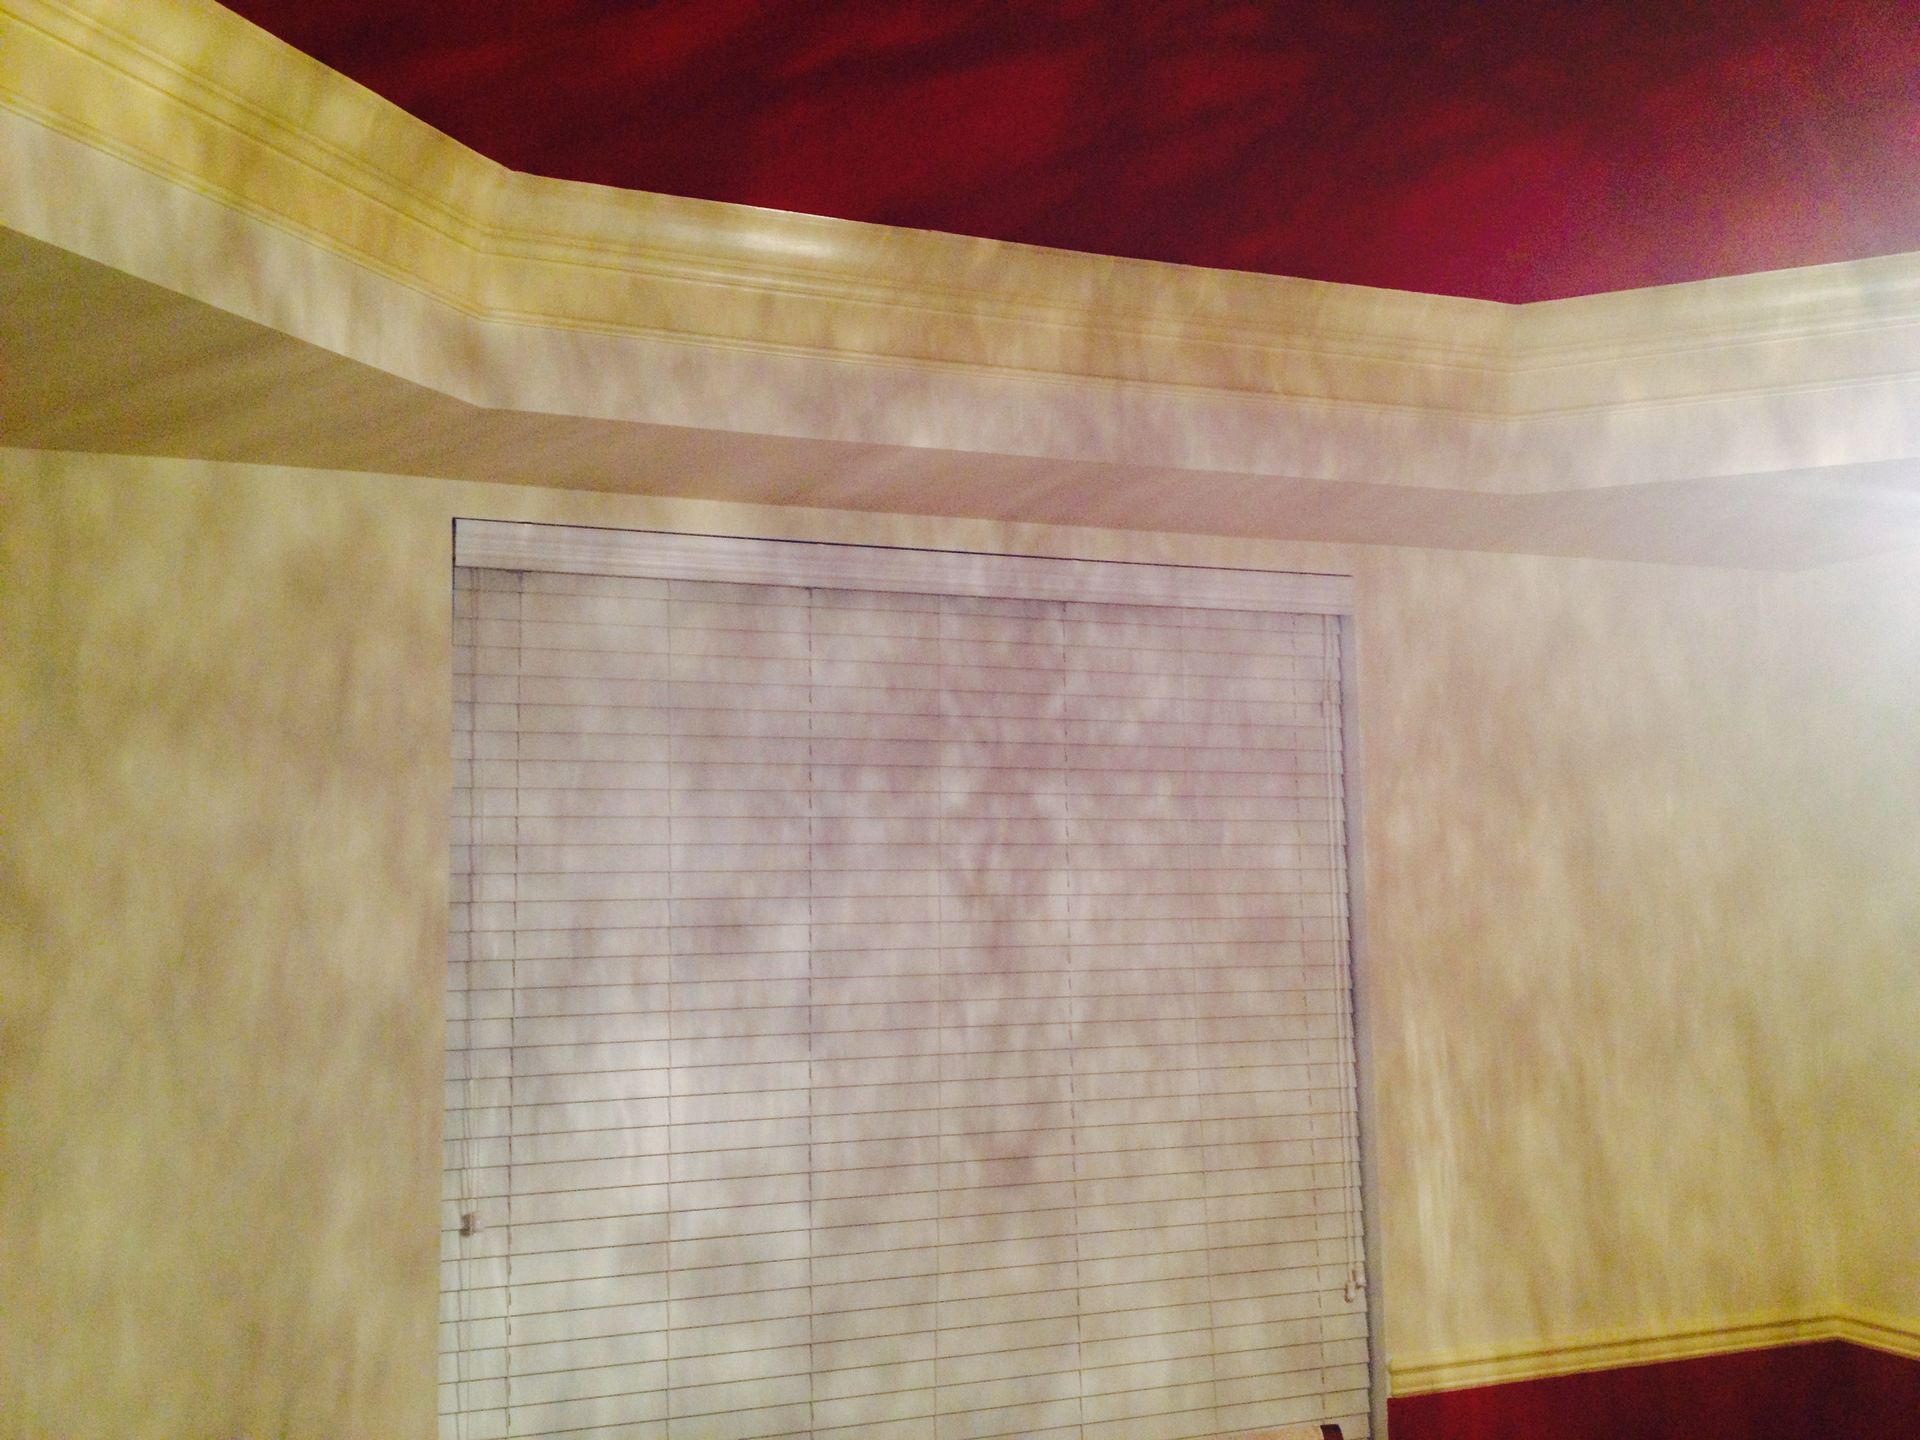
The before photographs show the window's original trim and white blinds, including a closer view of the upper edge below the room's crown moulding.
The visible change
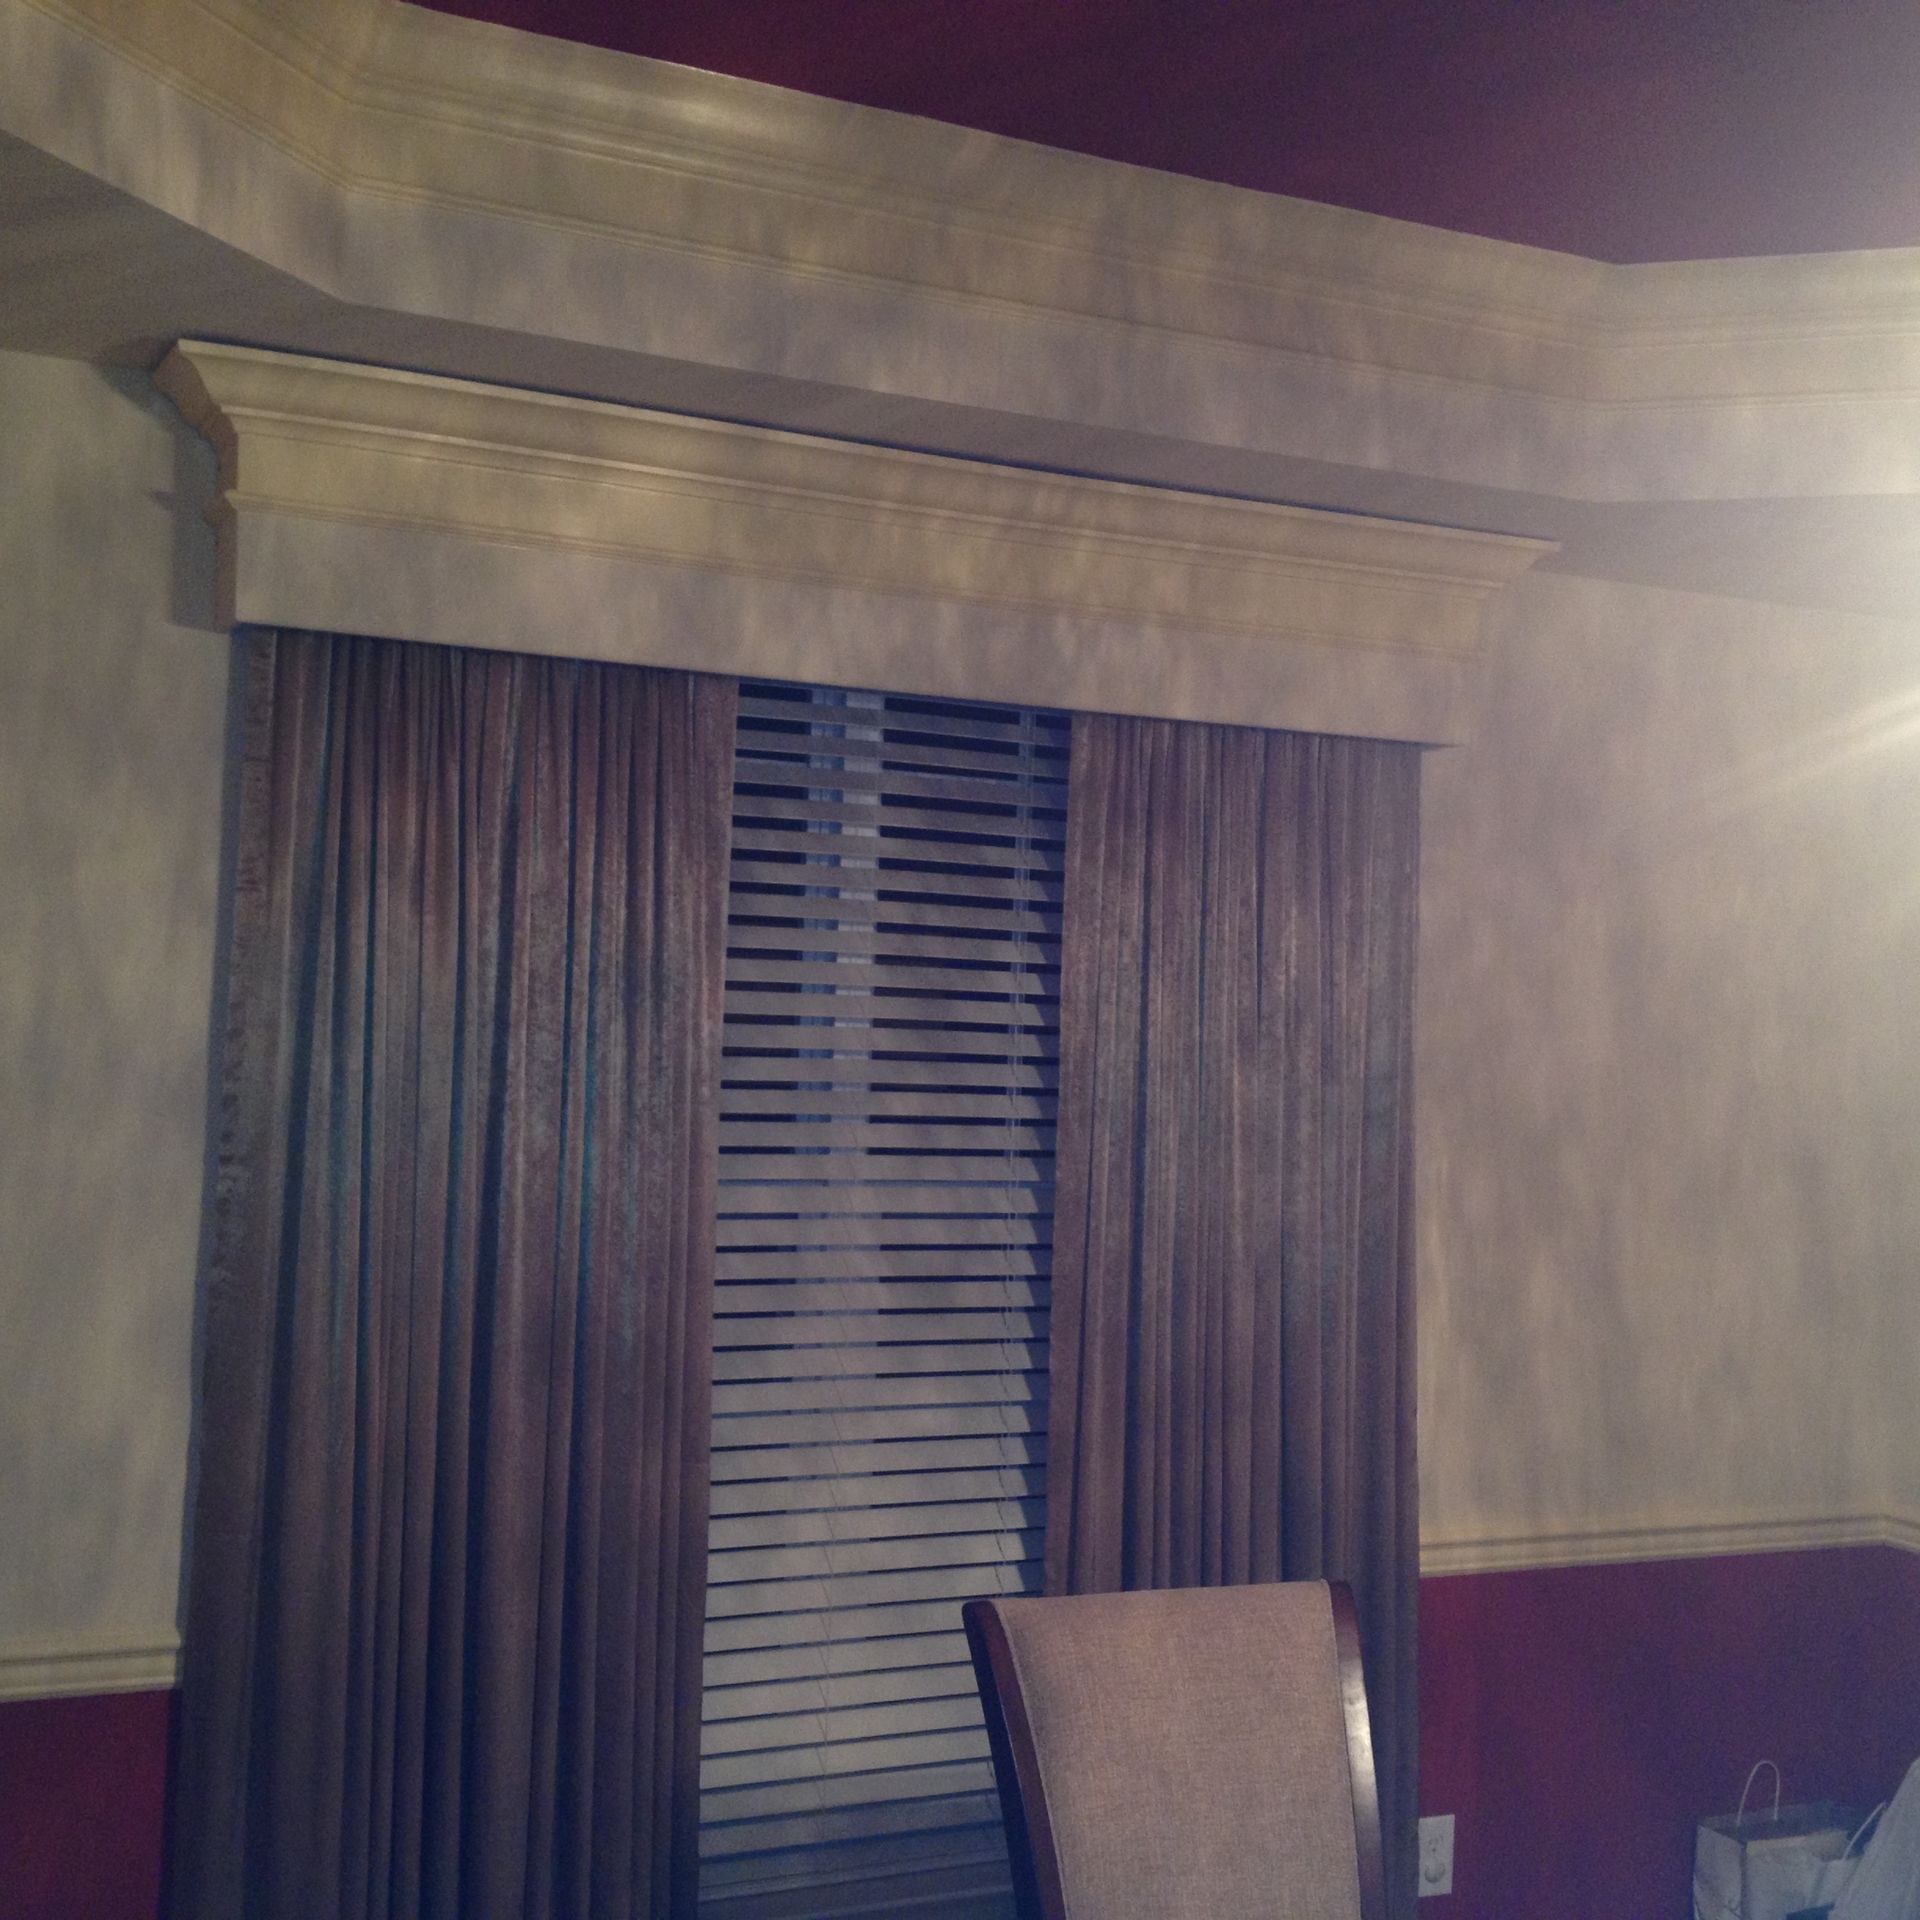
The after photographs show a shaped cornice above the opening and full-length drapery at the sides. The wider view shows the overall framing; the close-up makes the upper finish easier to see.
Ideas for your own space
Consider how a window treatment relates to the ceiling trim, nearby furniture, and the daylight you want to keep. Share both a full-window photograph and a close-up of the existing upper trim with your request.
Discuss your window or finish details →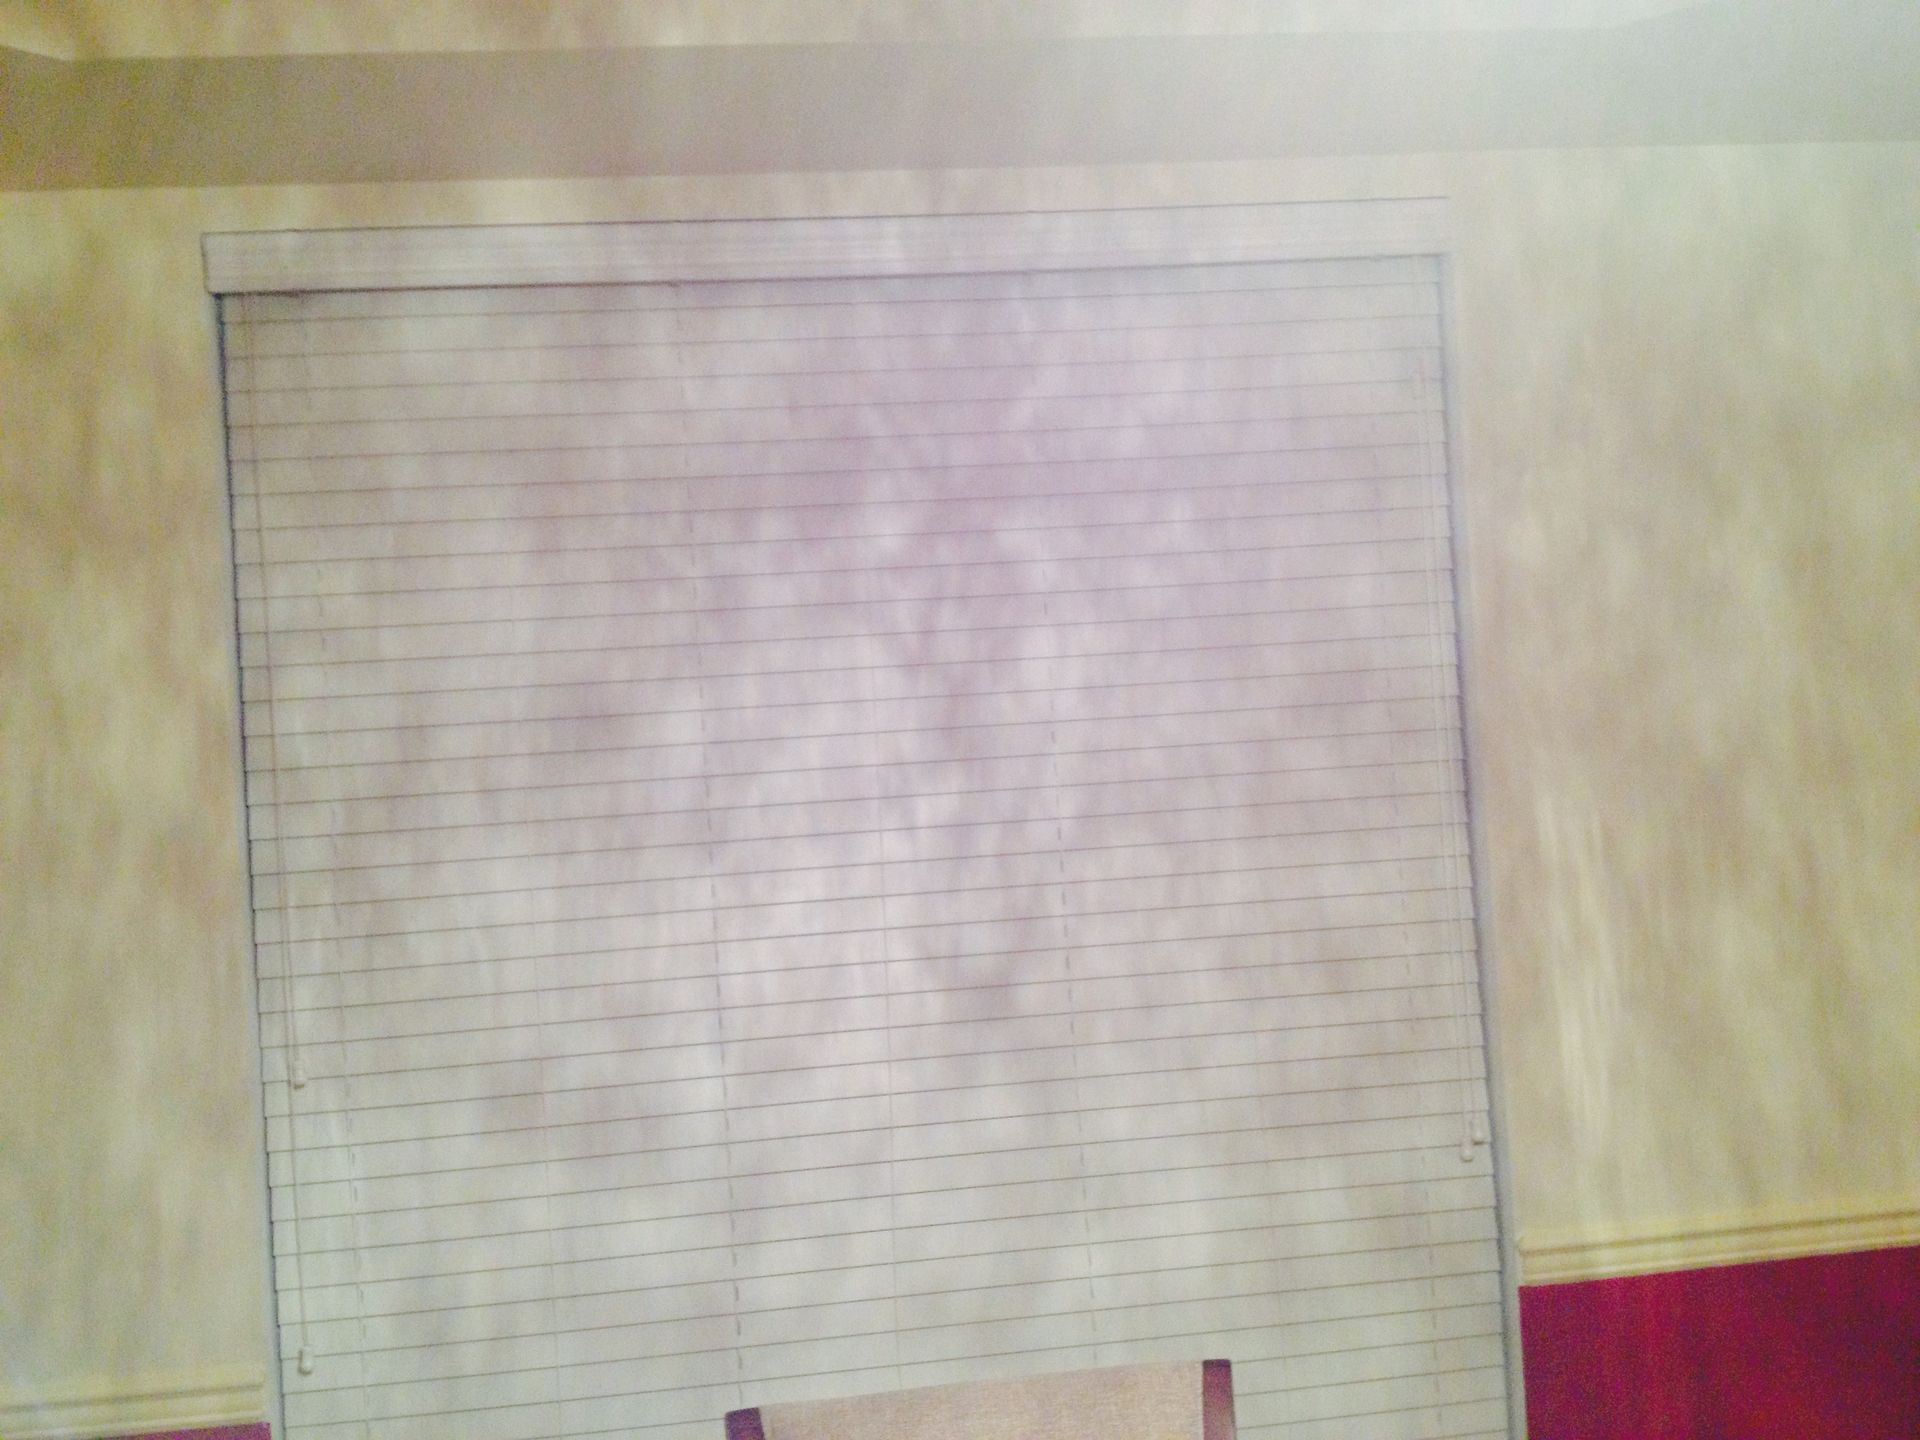
THE BIG PICTURE. THE SMALL DETAILS.
Our work, up close.
Showing 15 project photos.
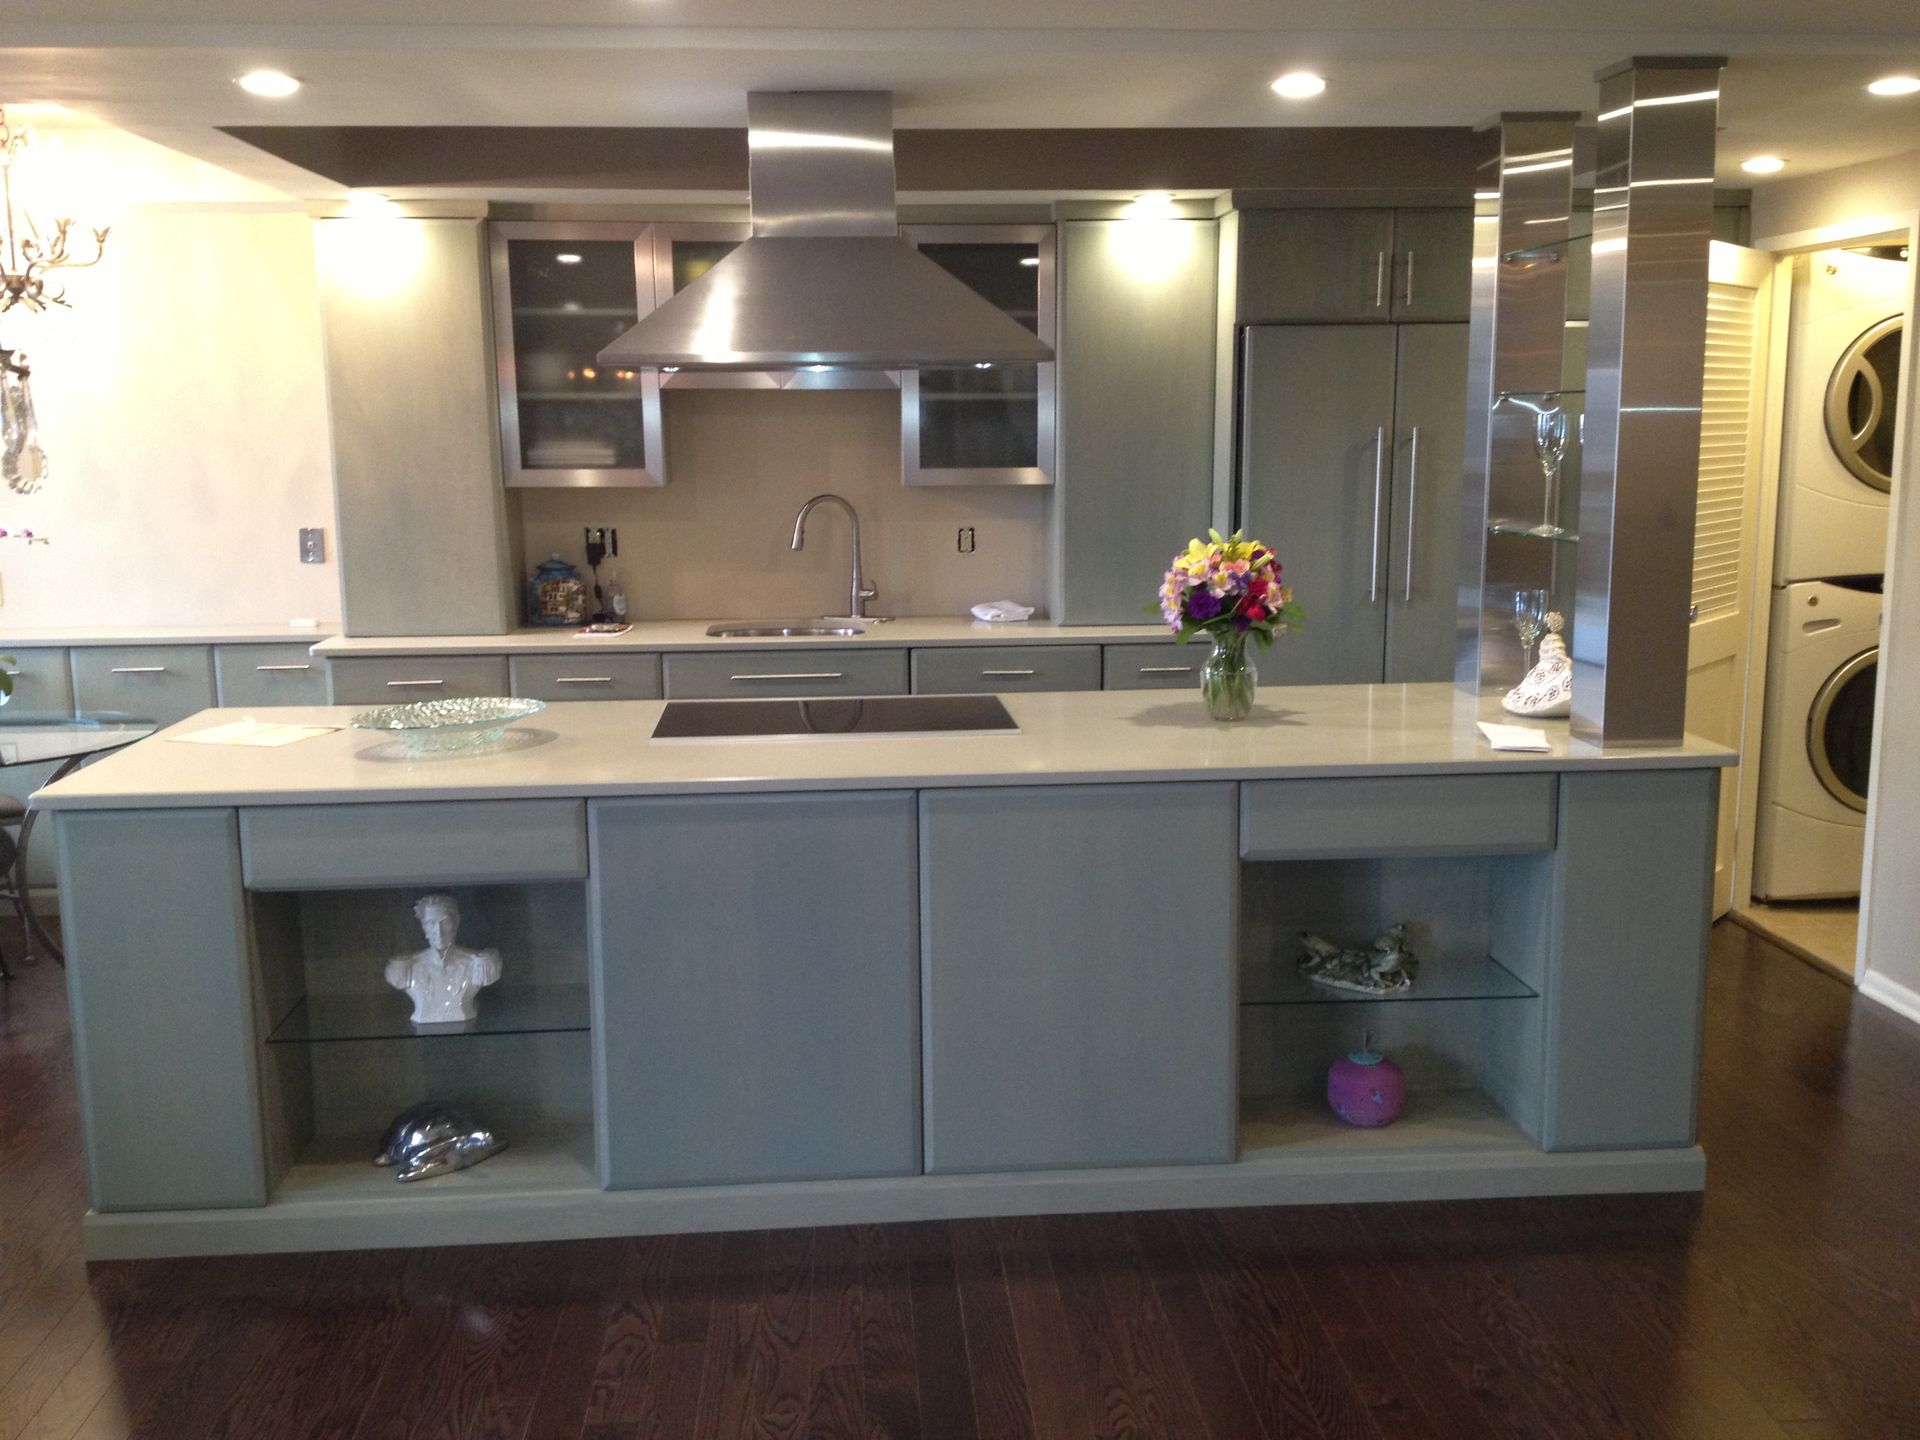
A place to gather
Kitchen cabinetry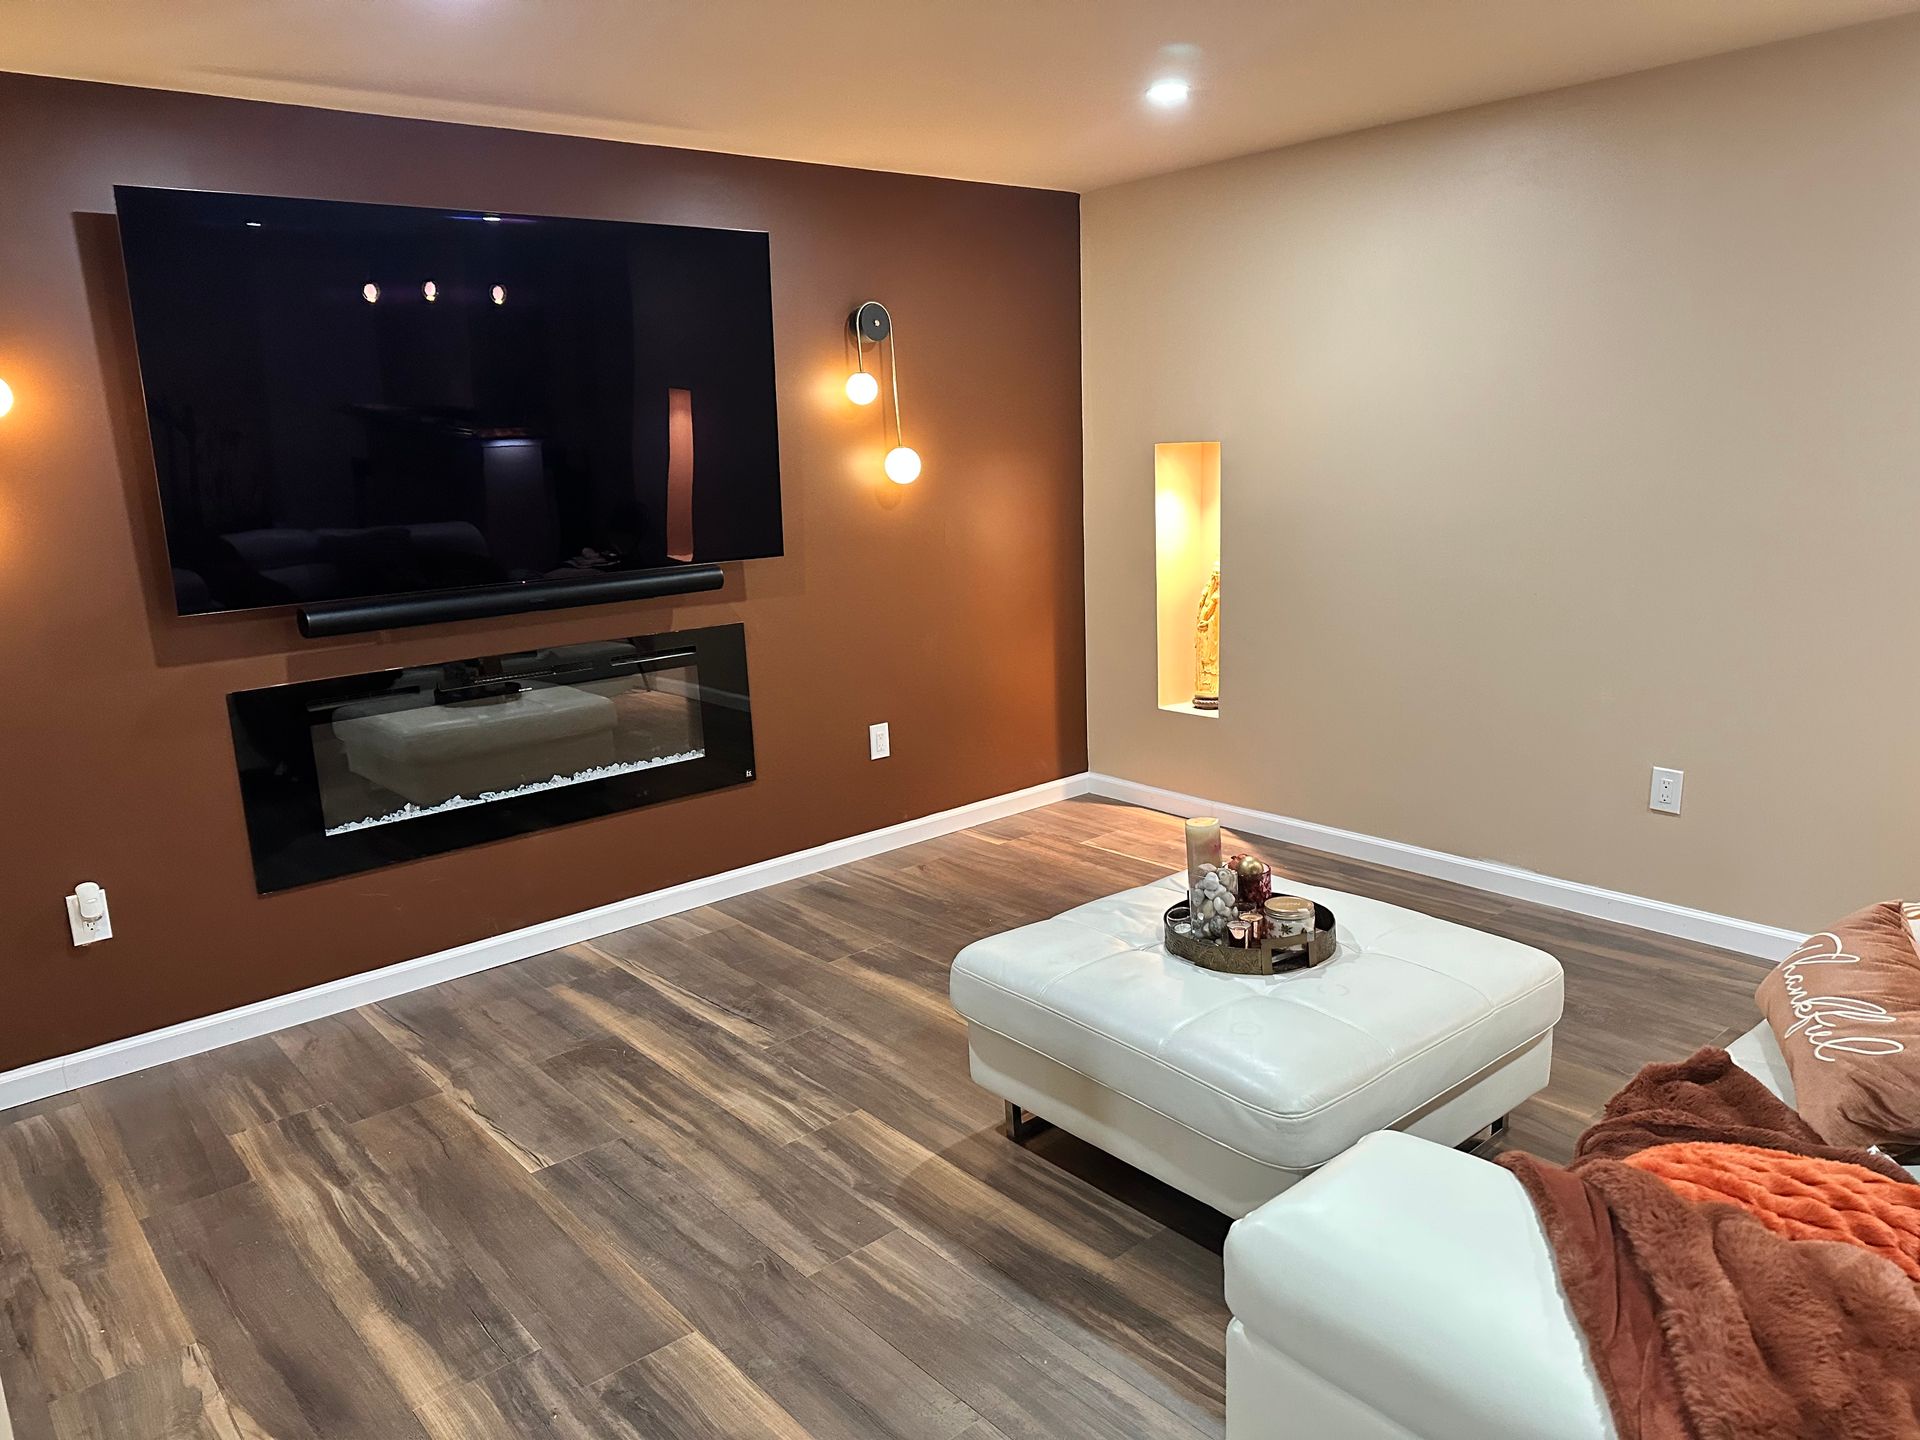
Room to unwind
Finished interiors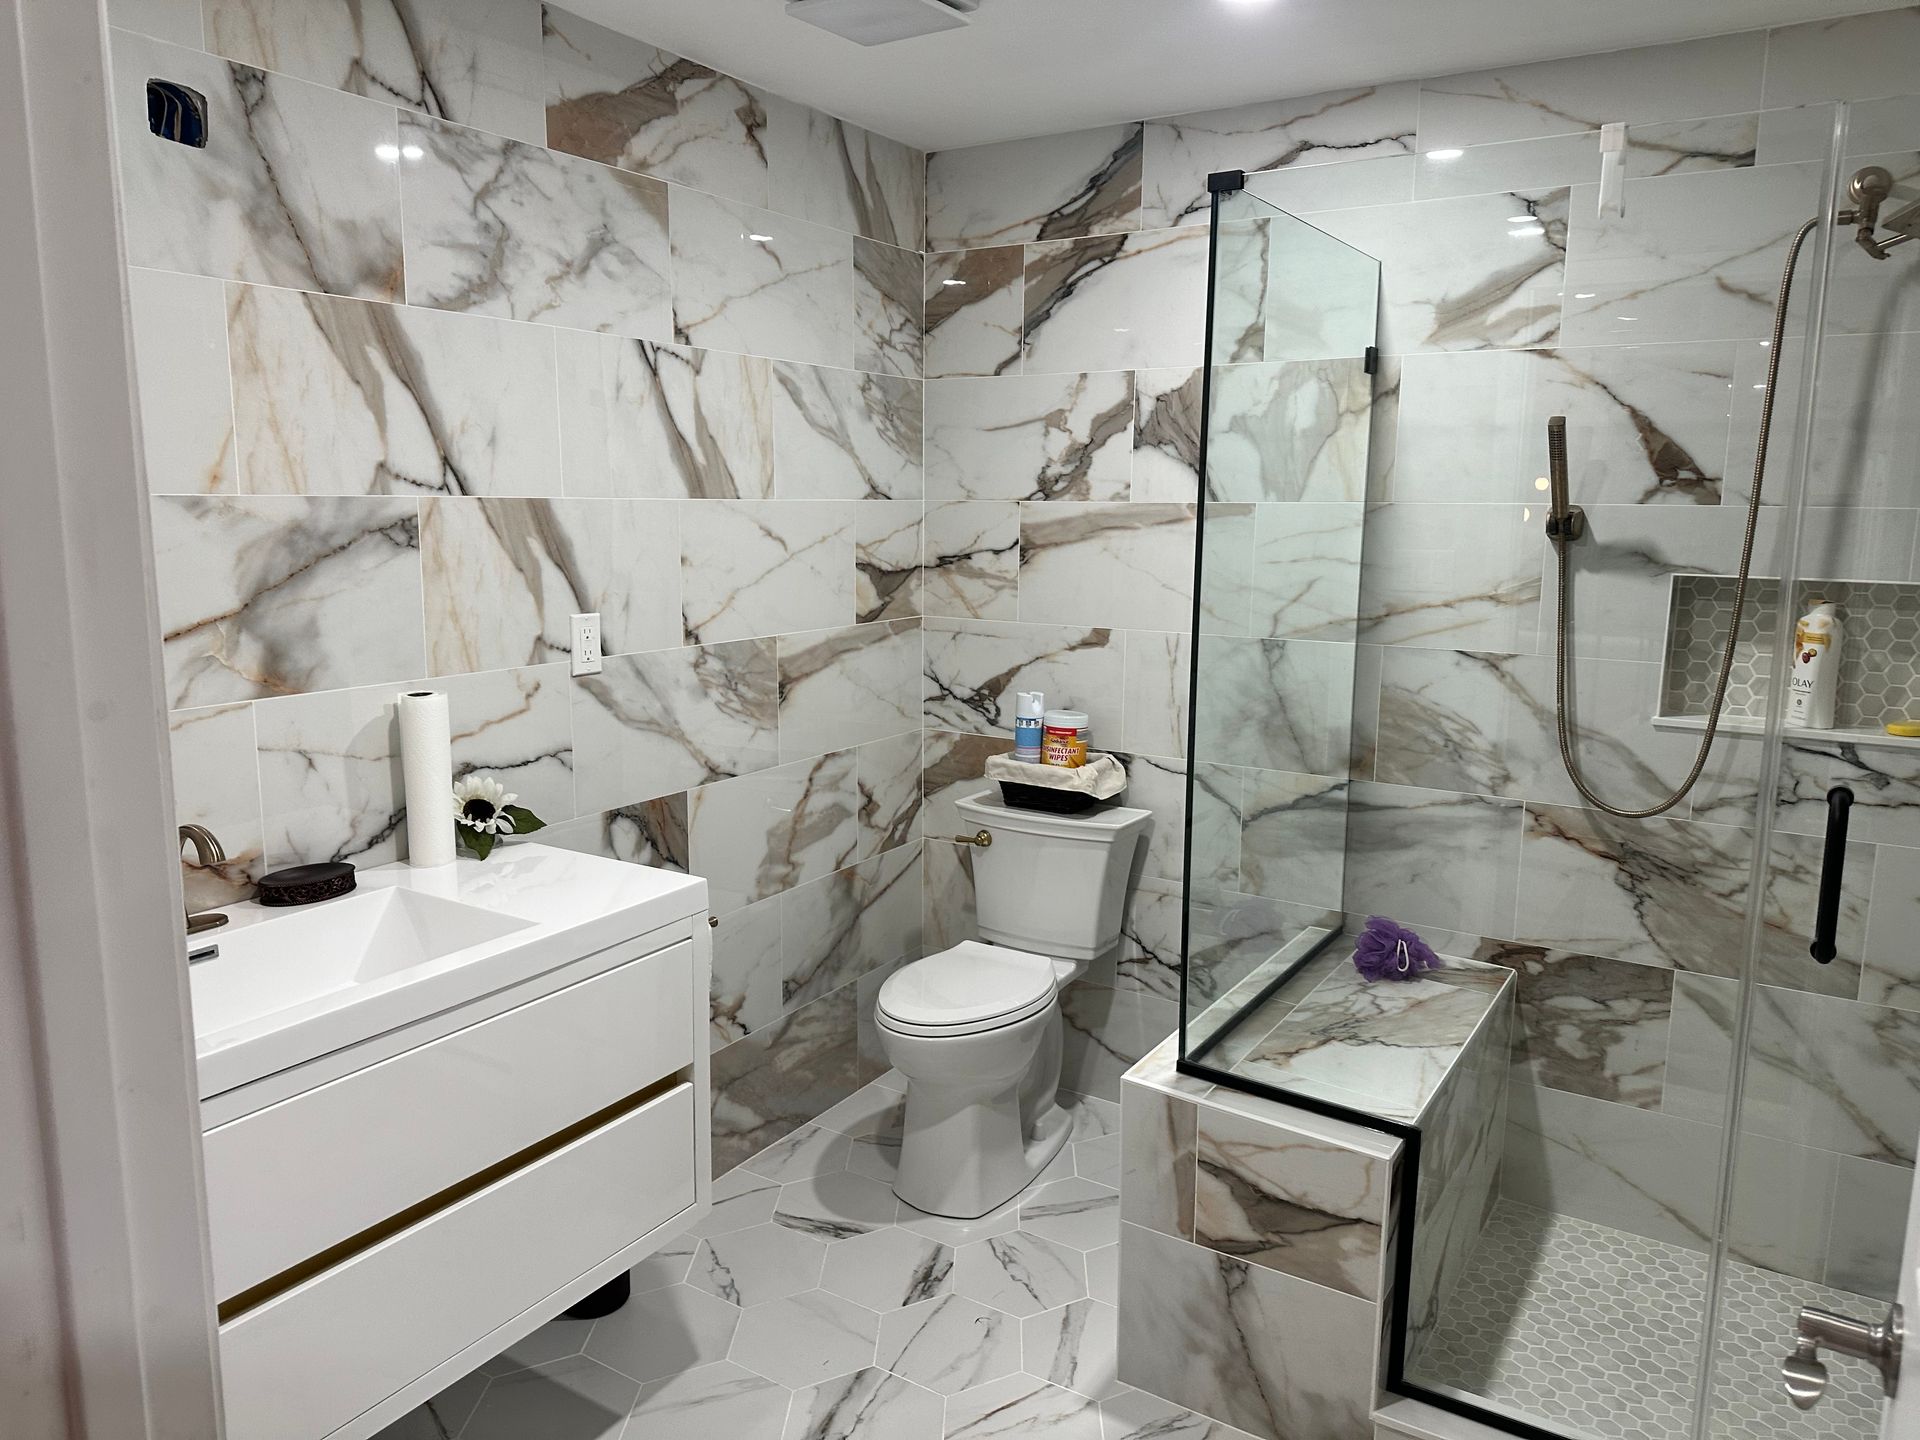
A fresh perspective
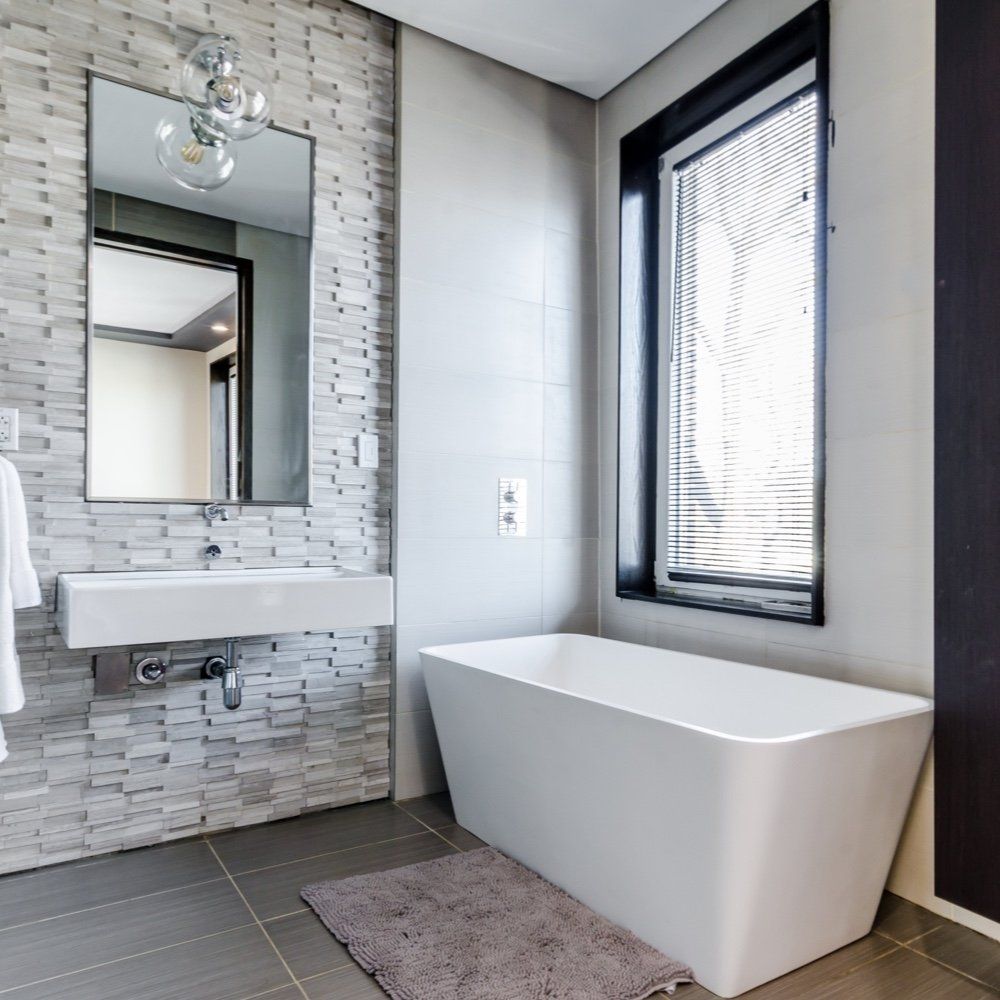
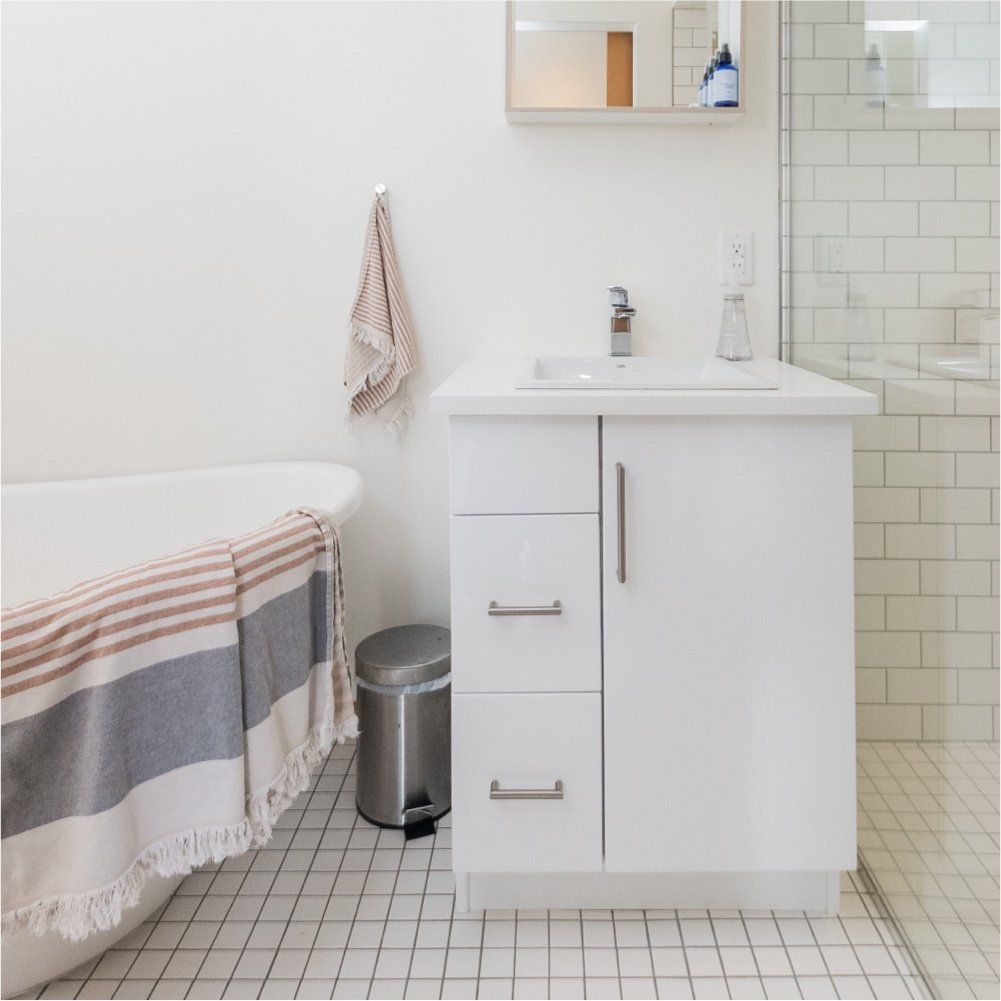
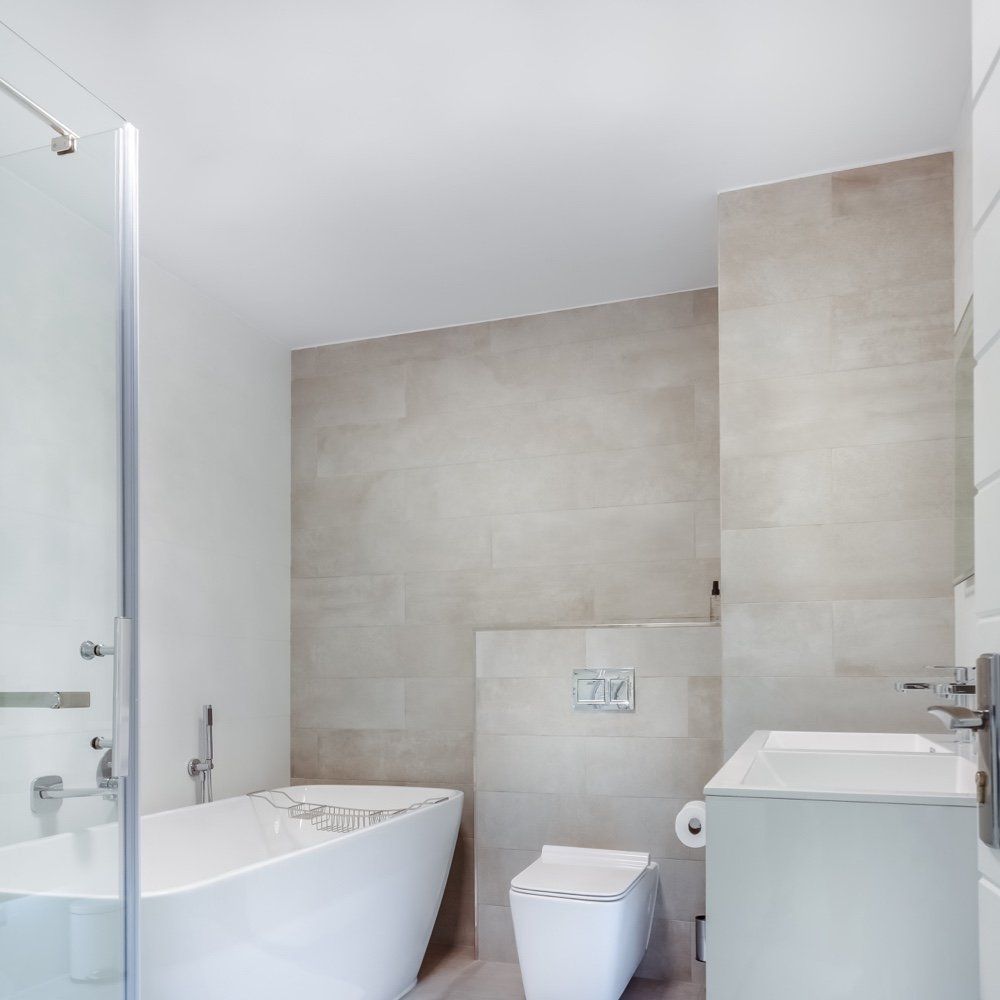
Bathroom finishes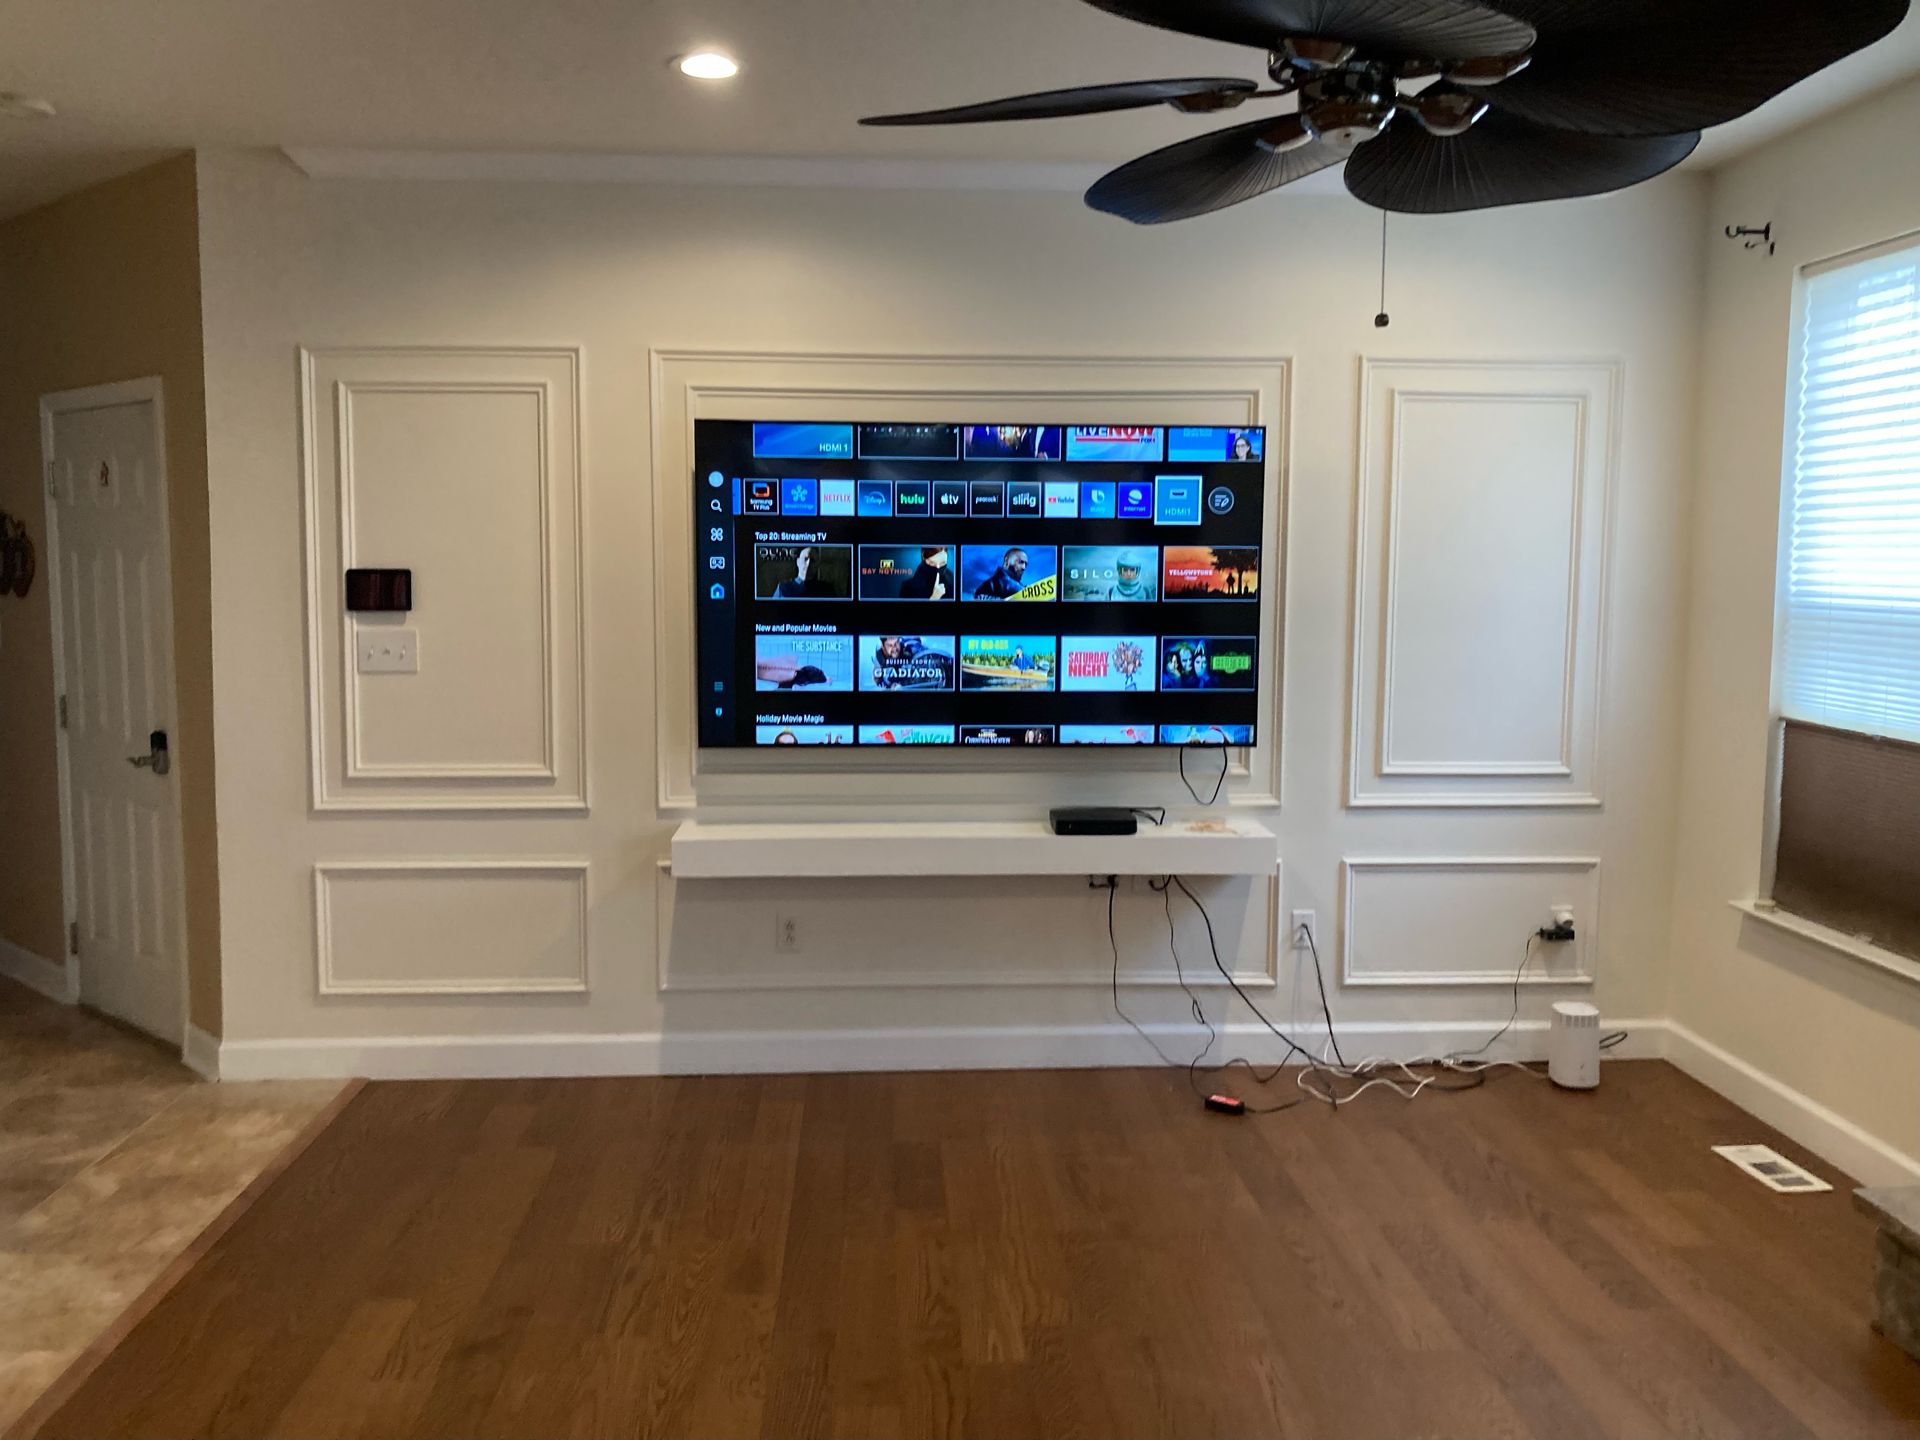
A new focal point
Feature-wall details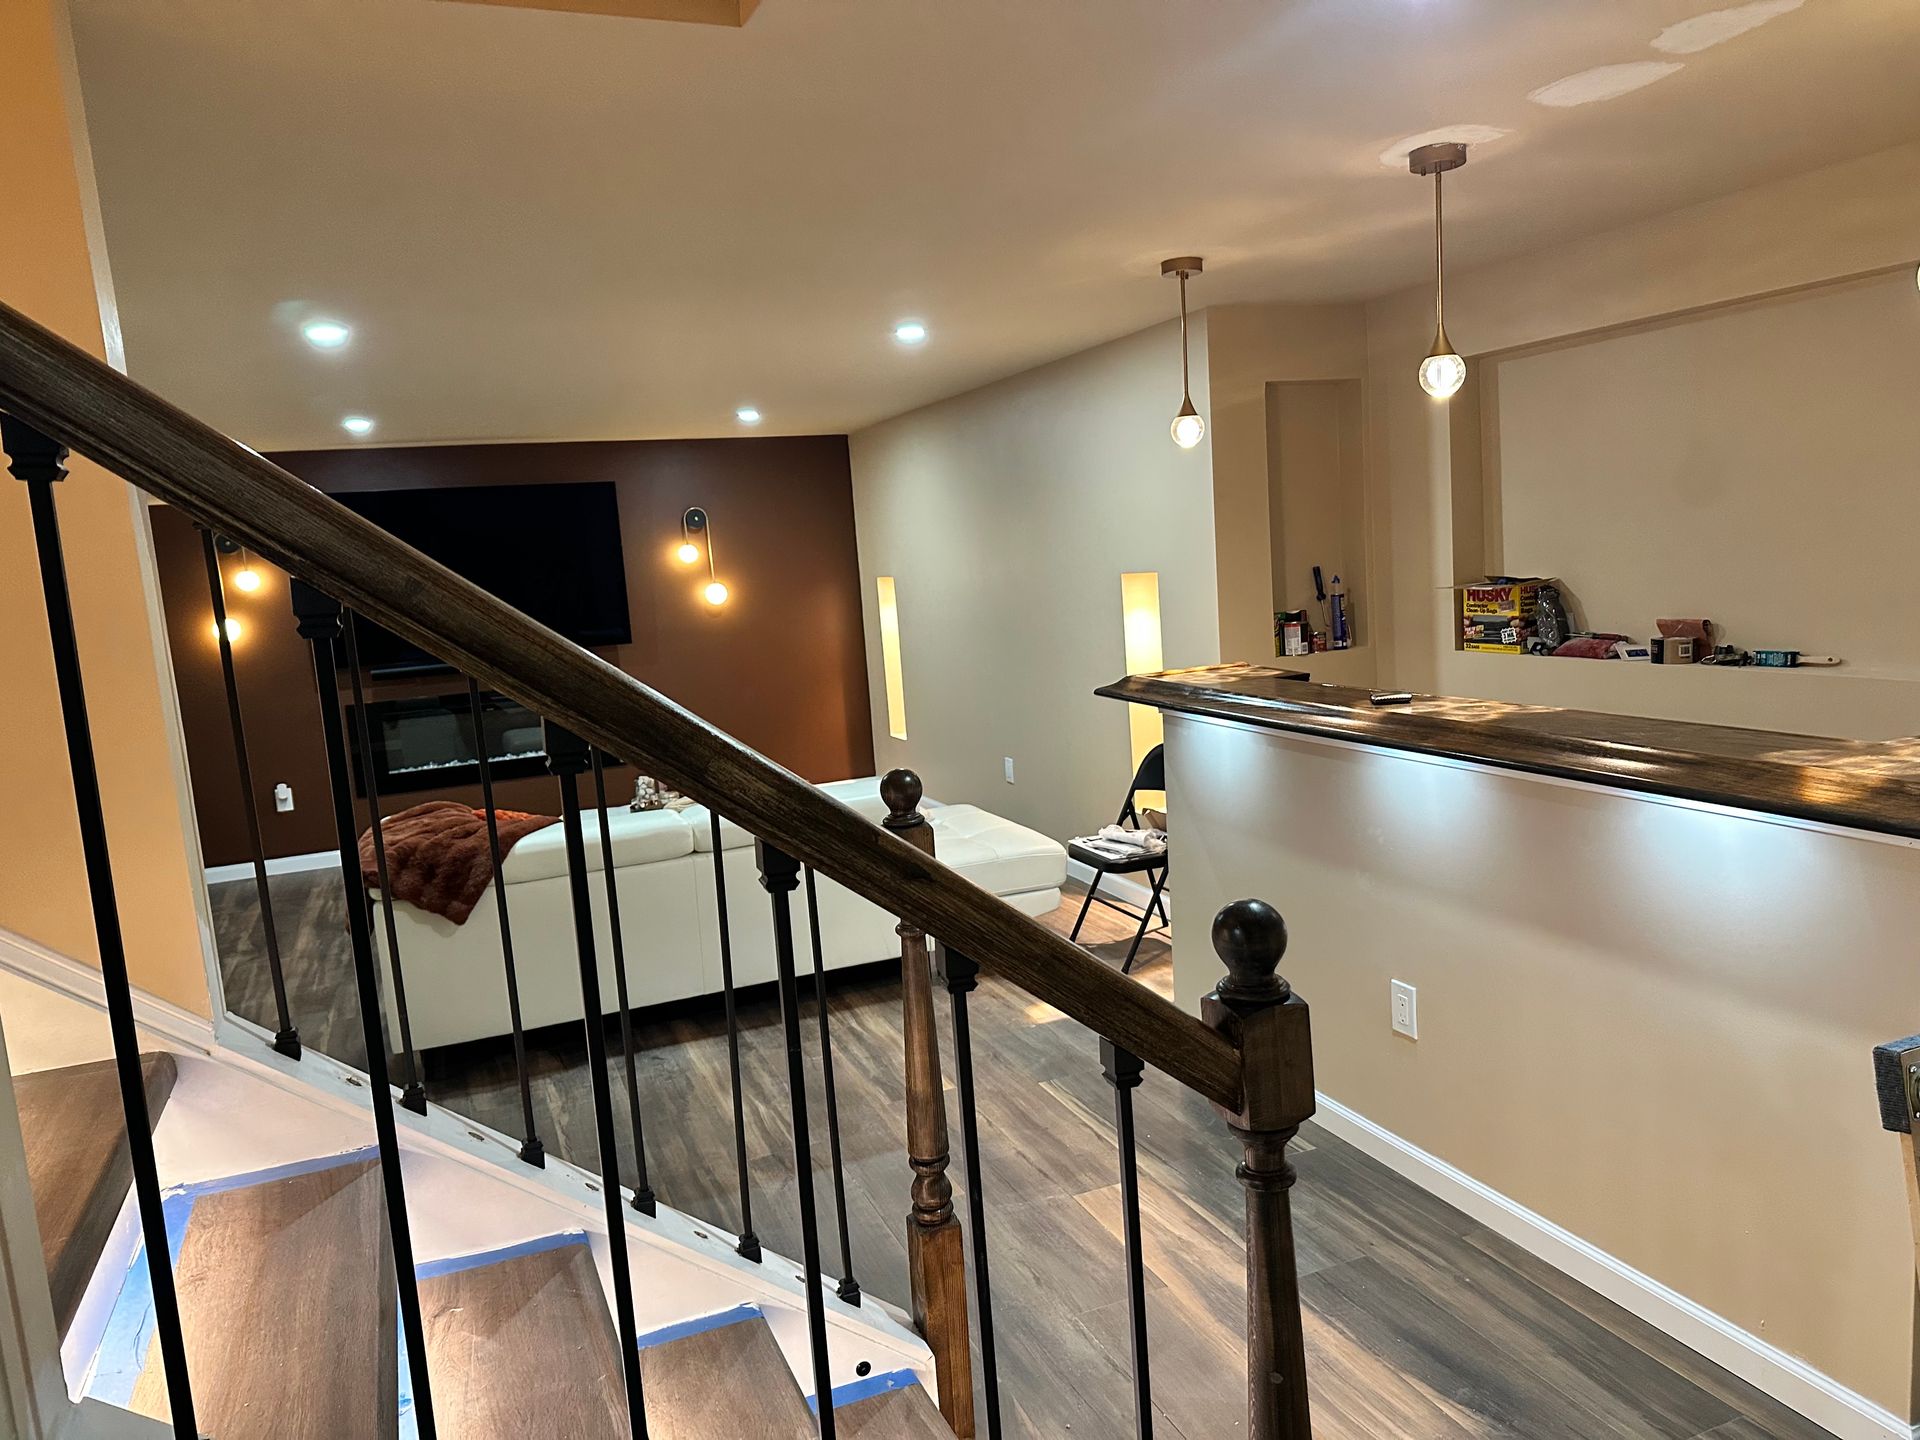
Space, connected
Finished interiors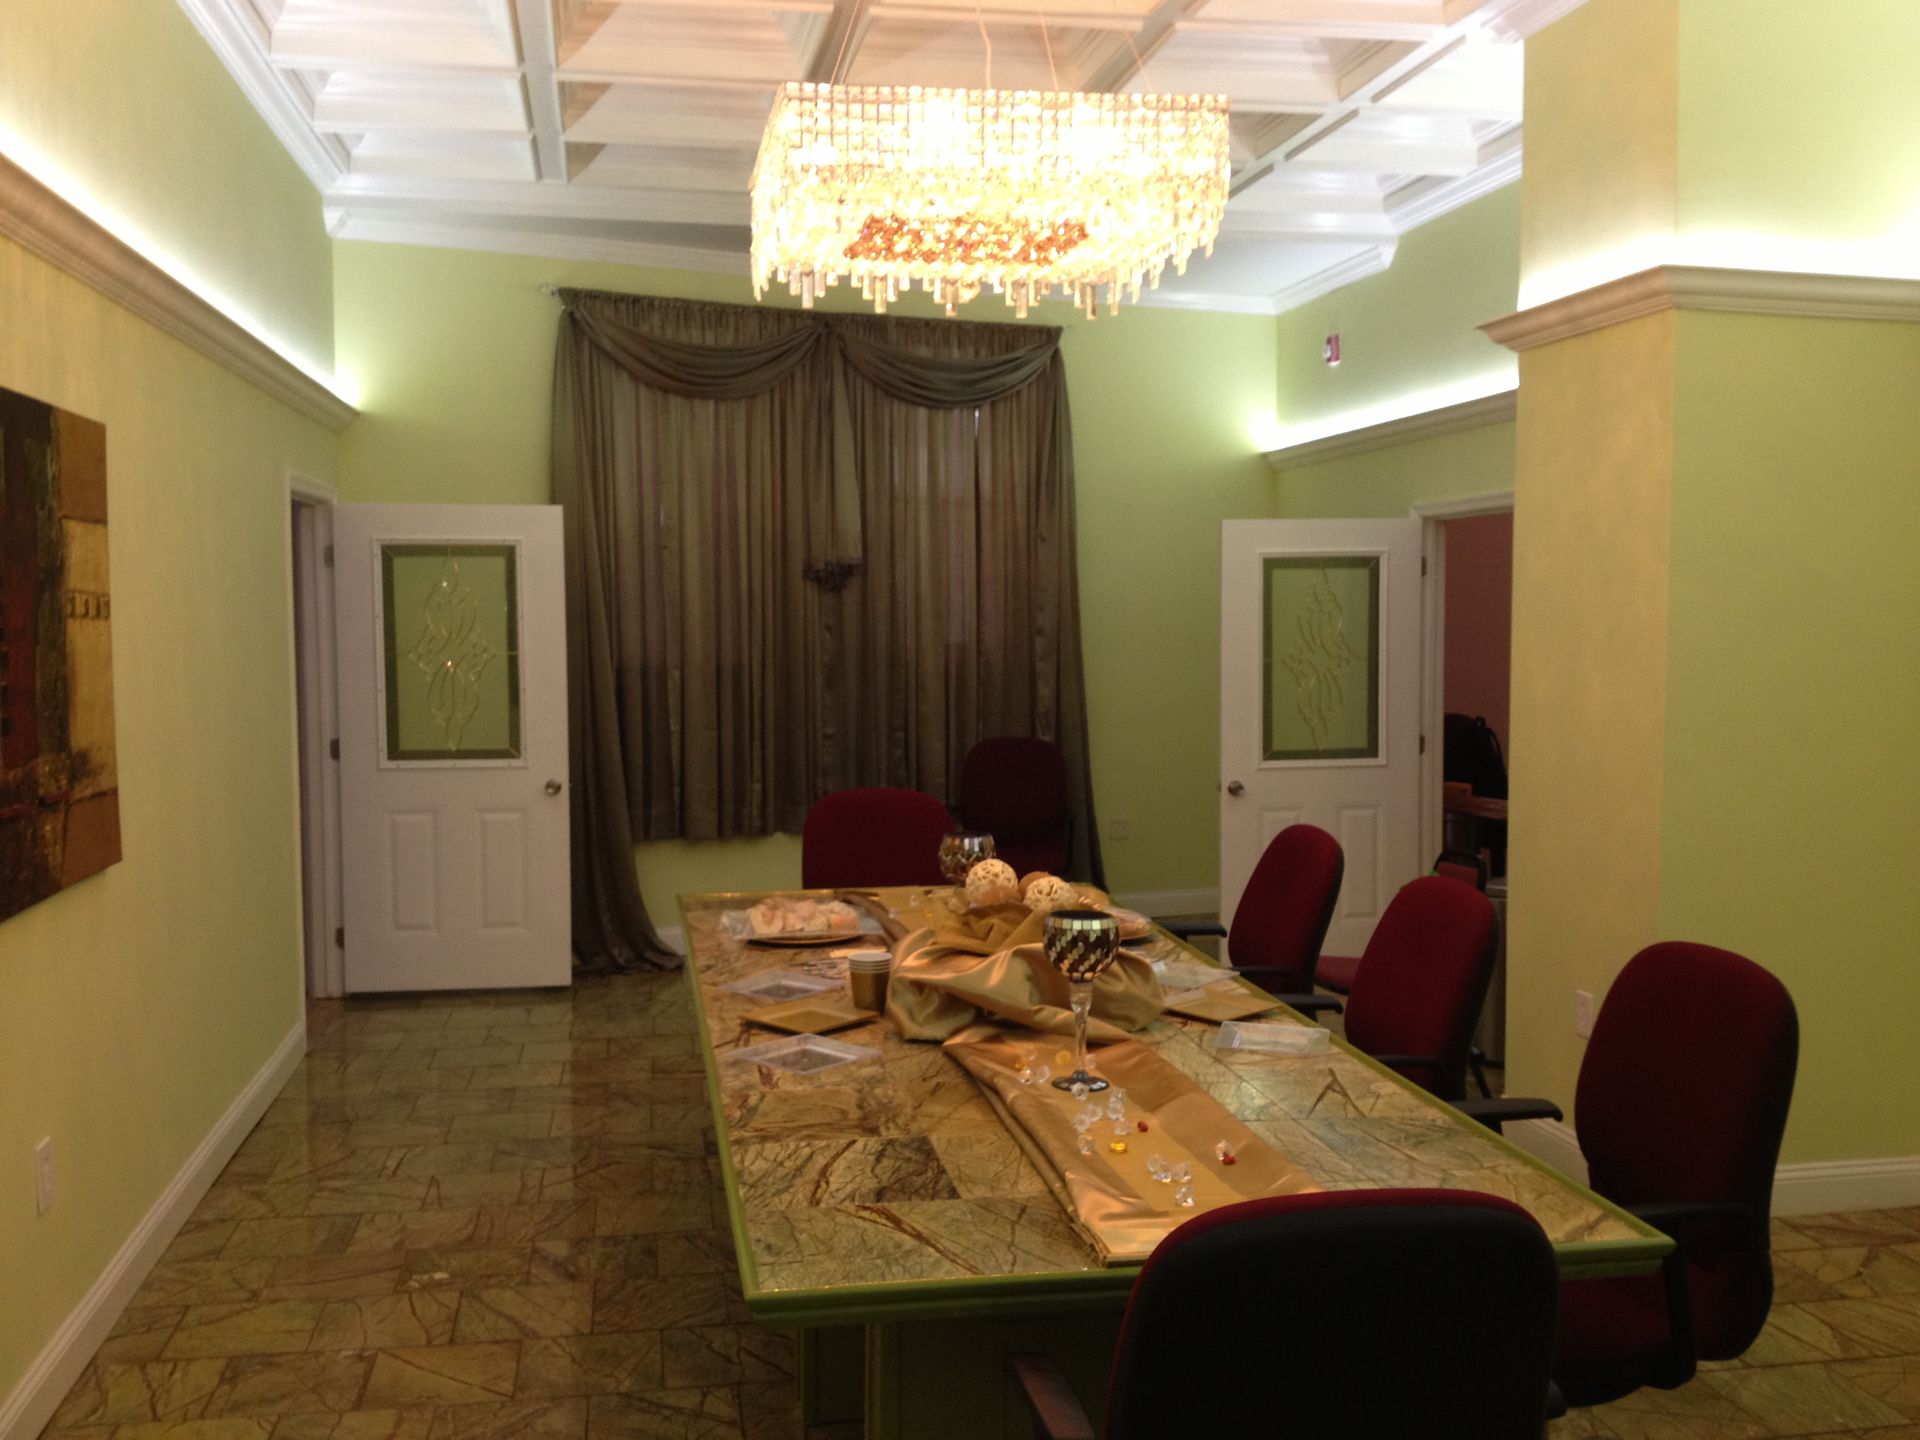
Room for an occasion
Dining-room interiors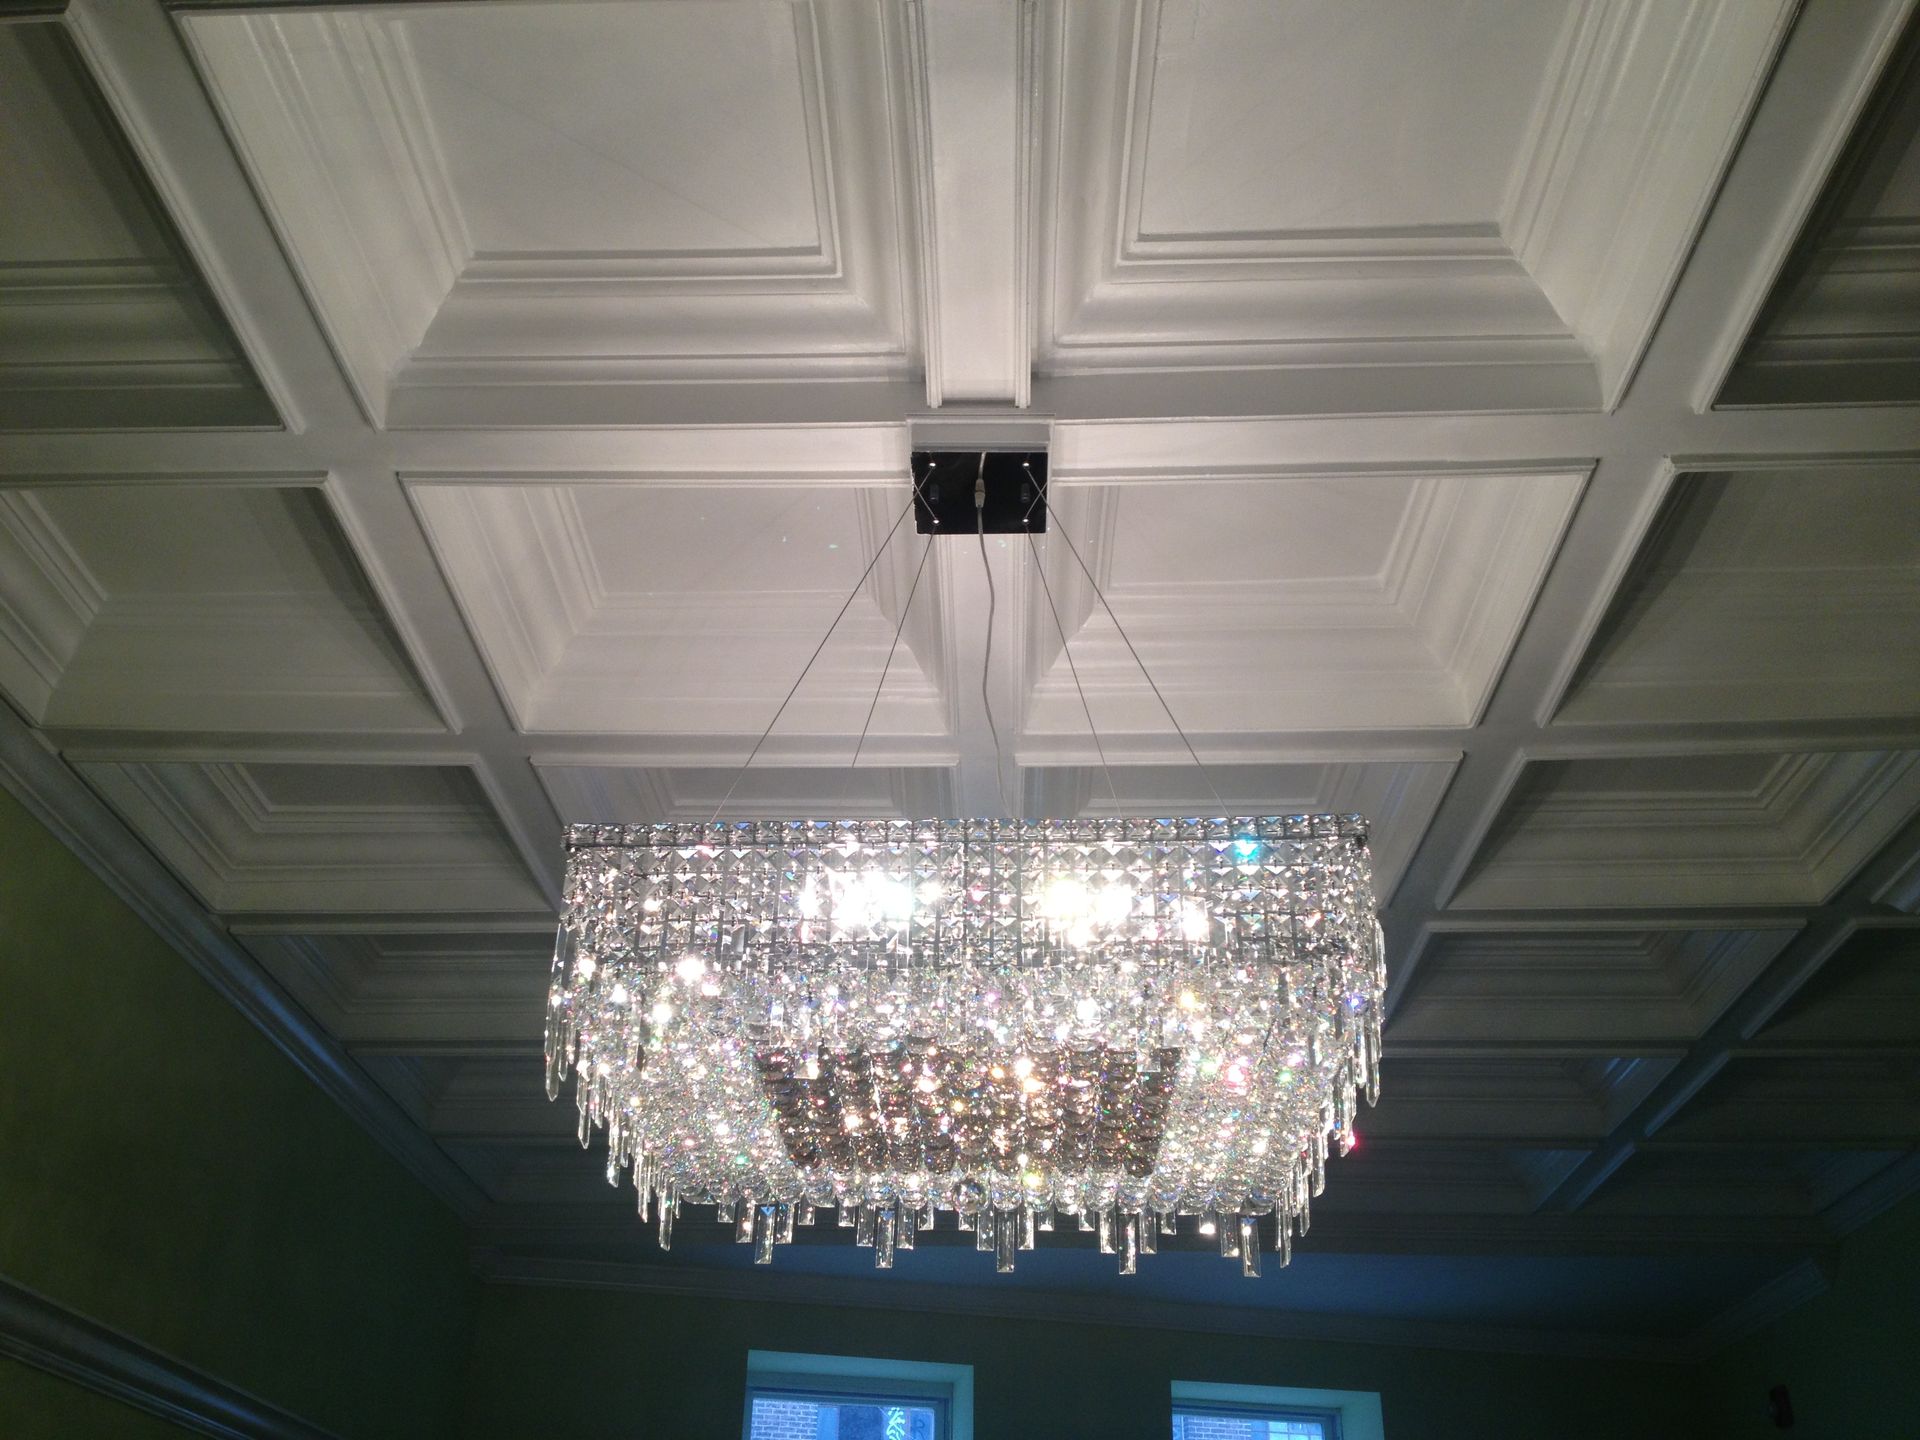
Look a little closer
Ceiling & lighting details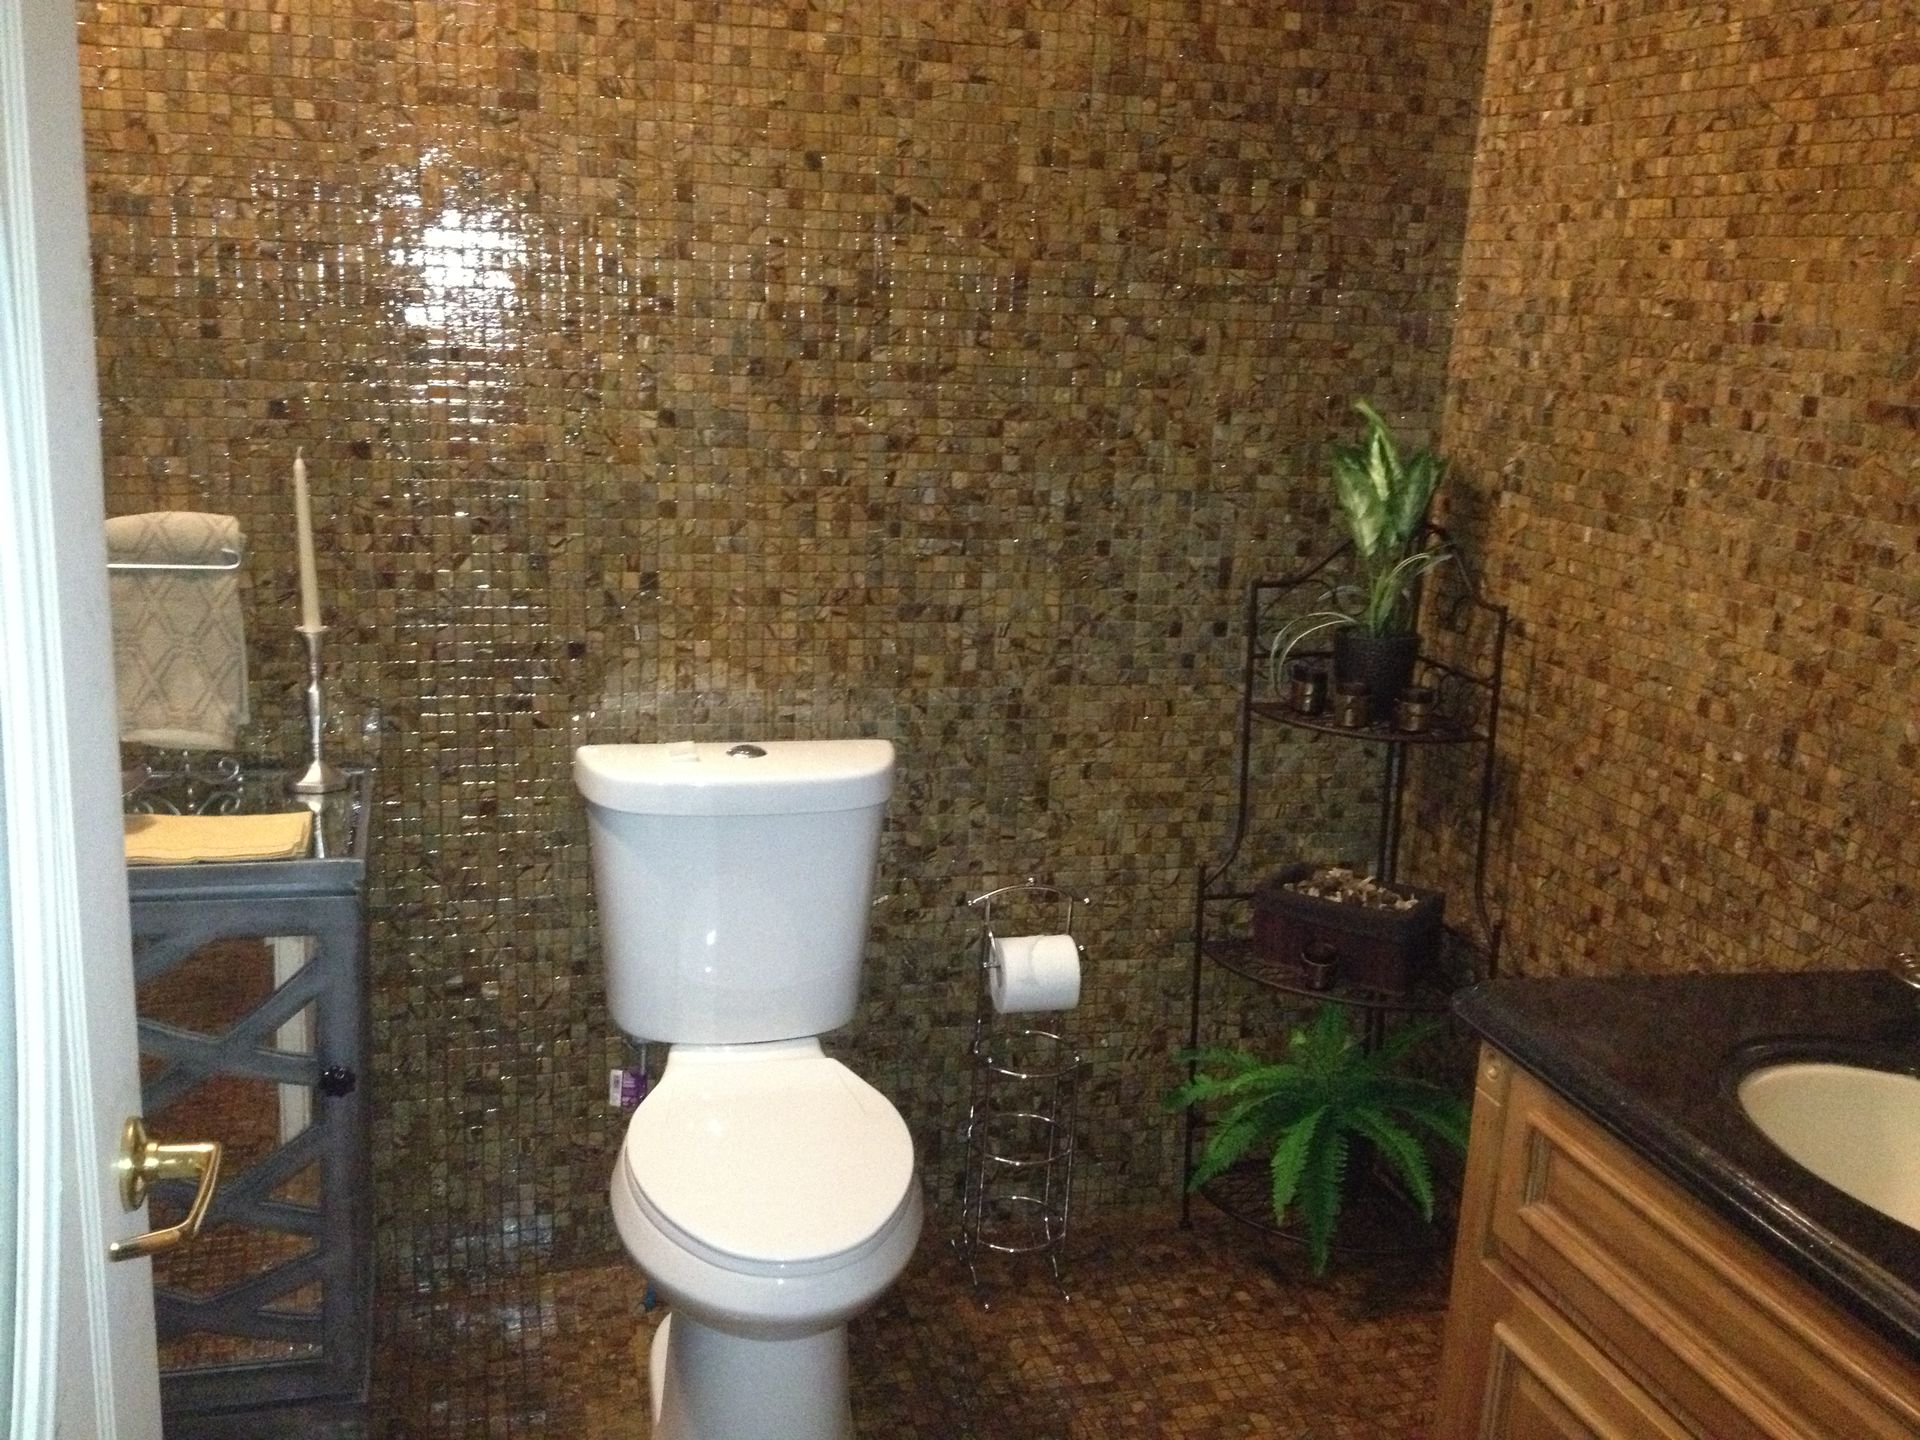
Texture in every tile
Bathroom tilework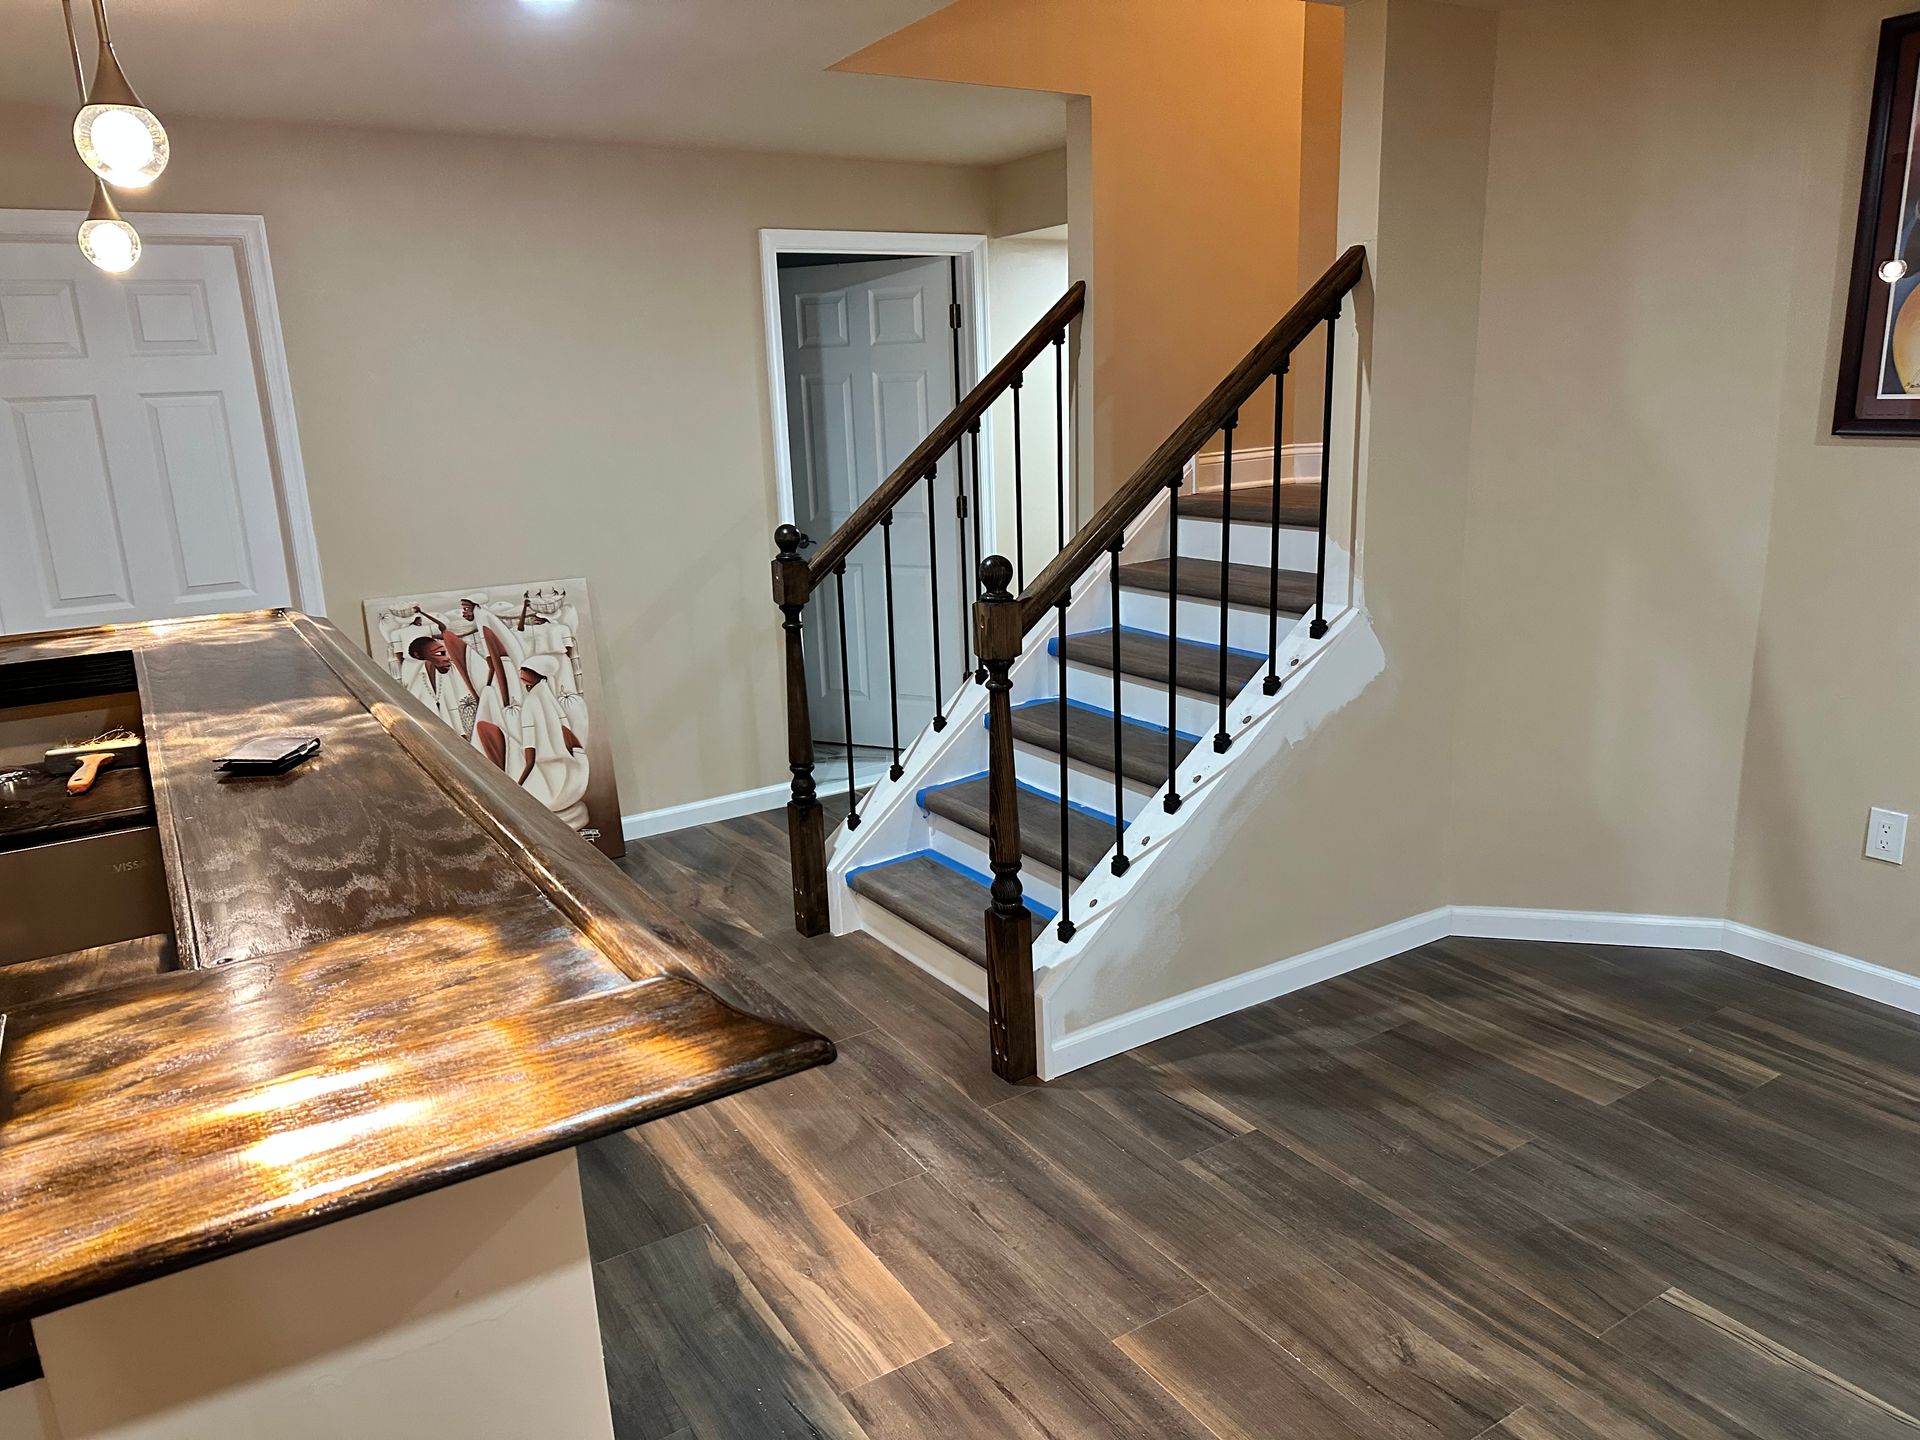
Every step considered
Stairs & railings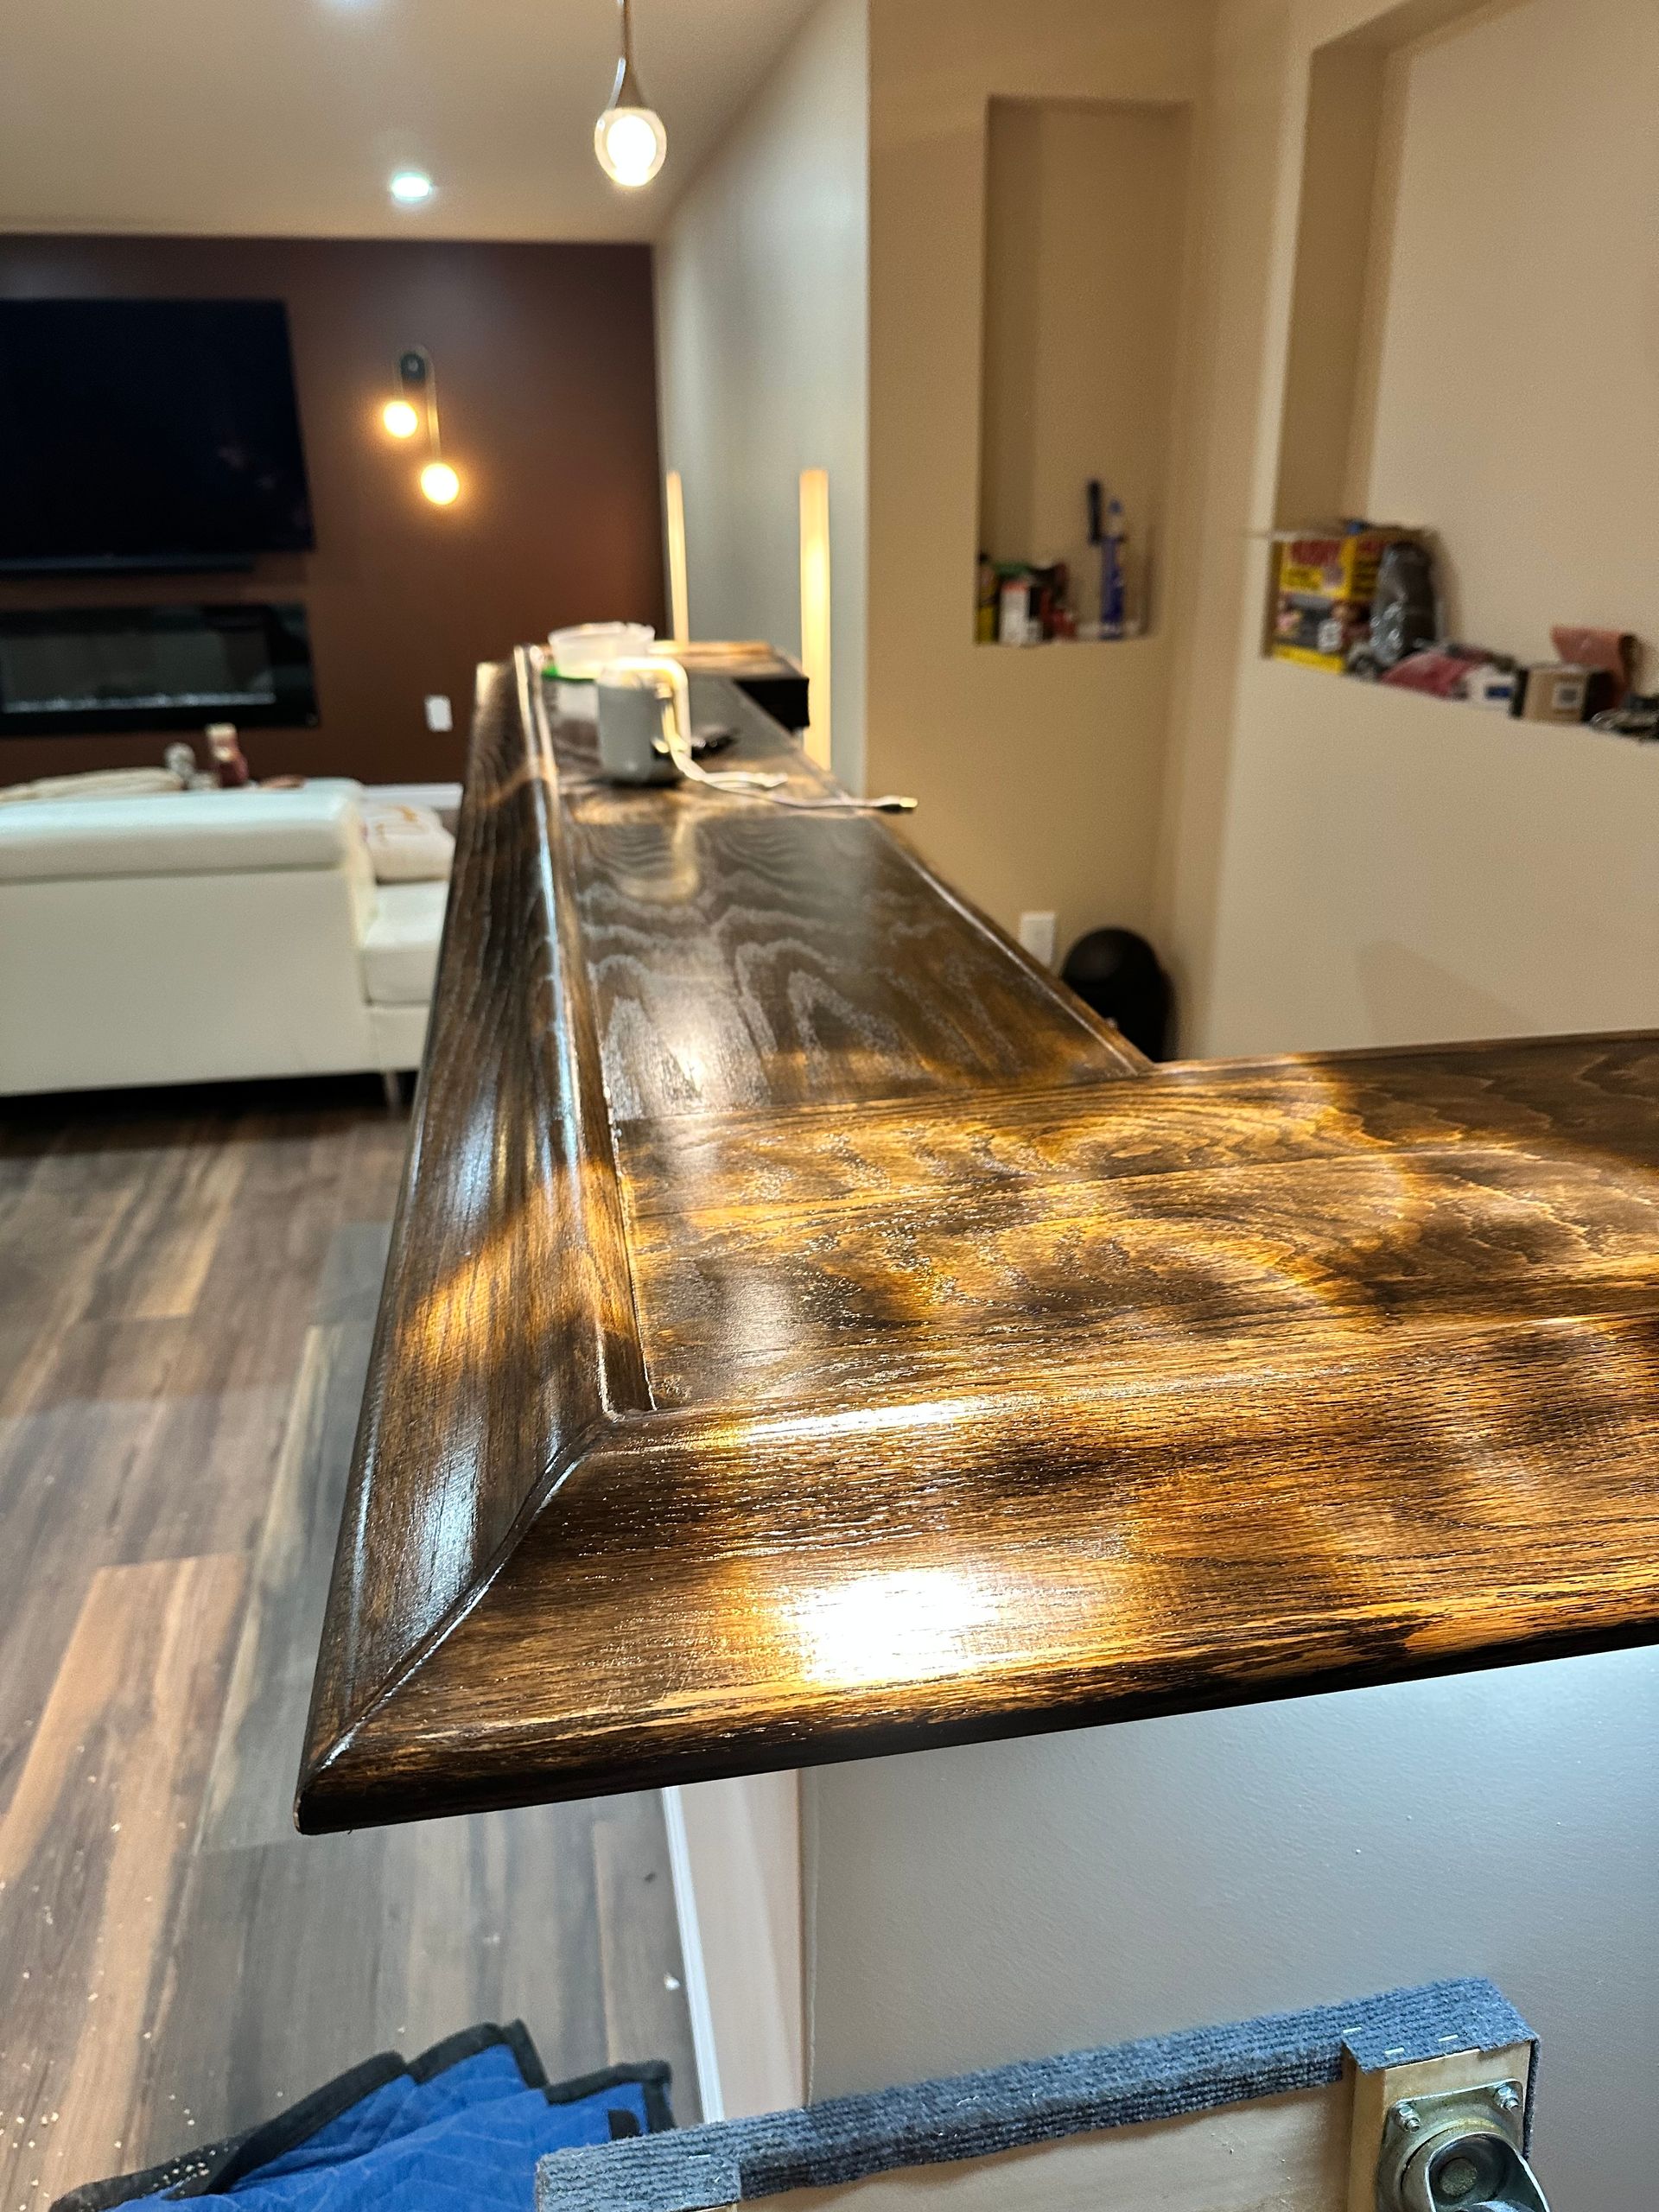
A statement surface
Finishing details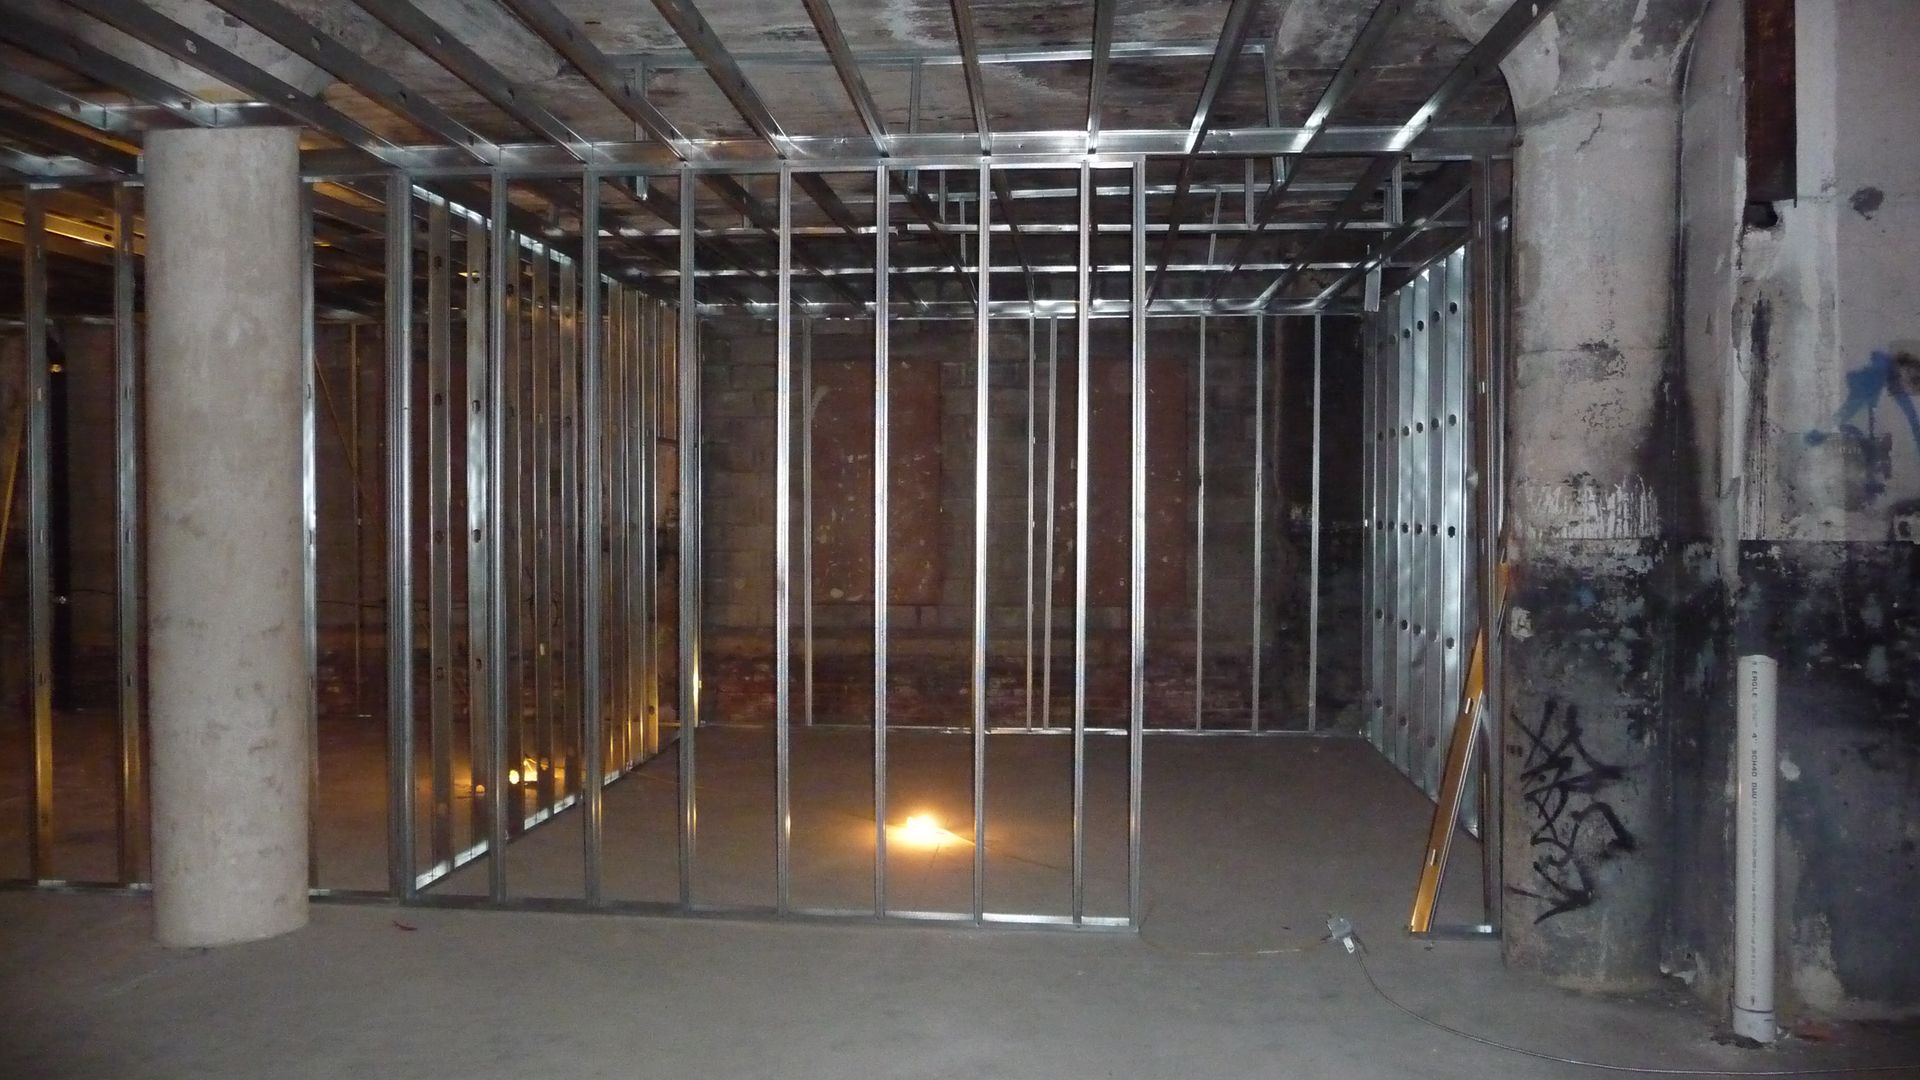
The framework takes shape
Metal framing in progress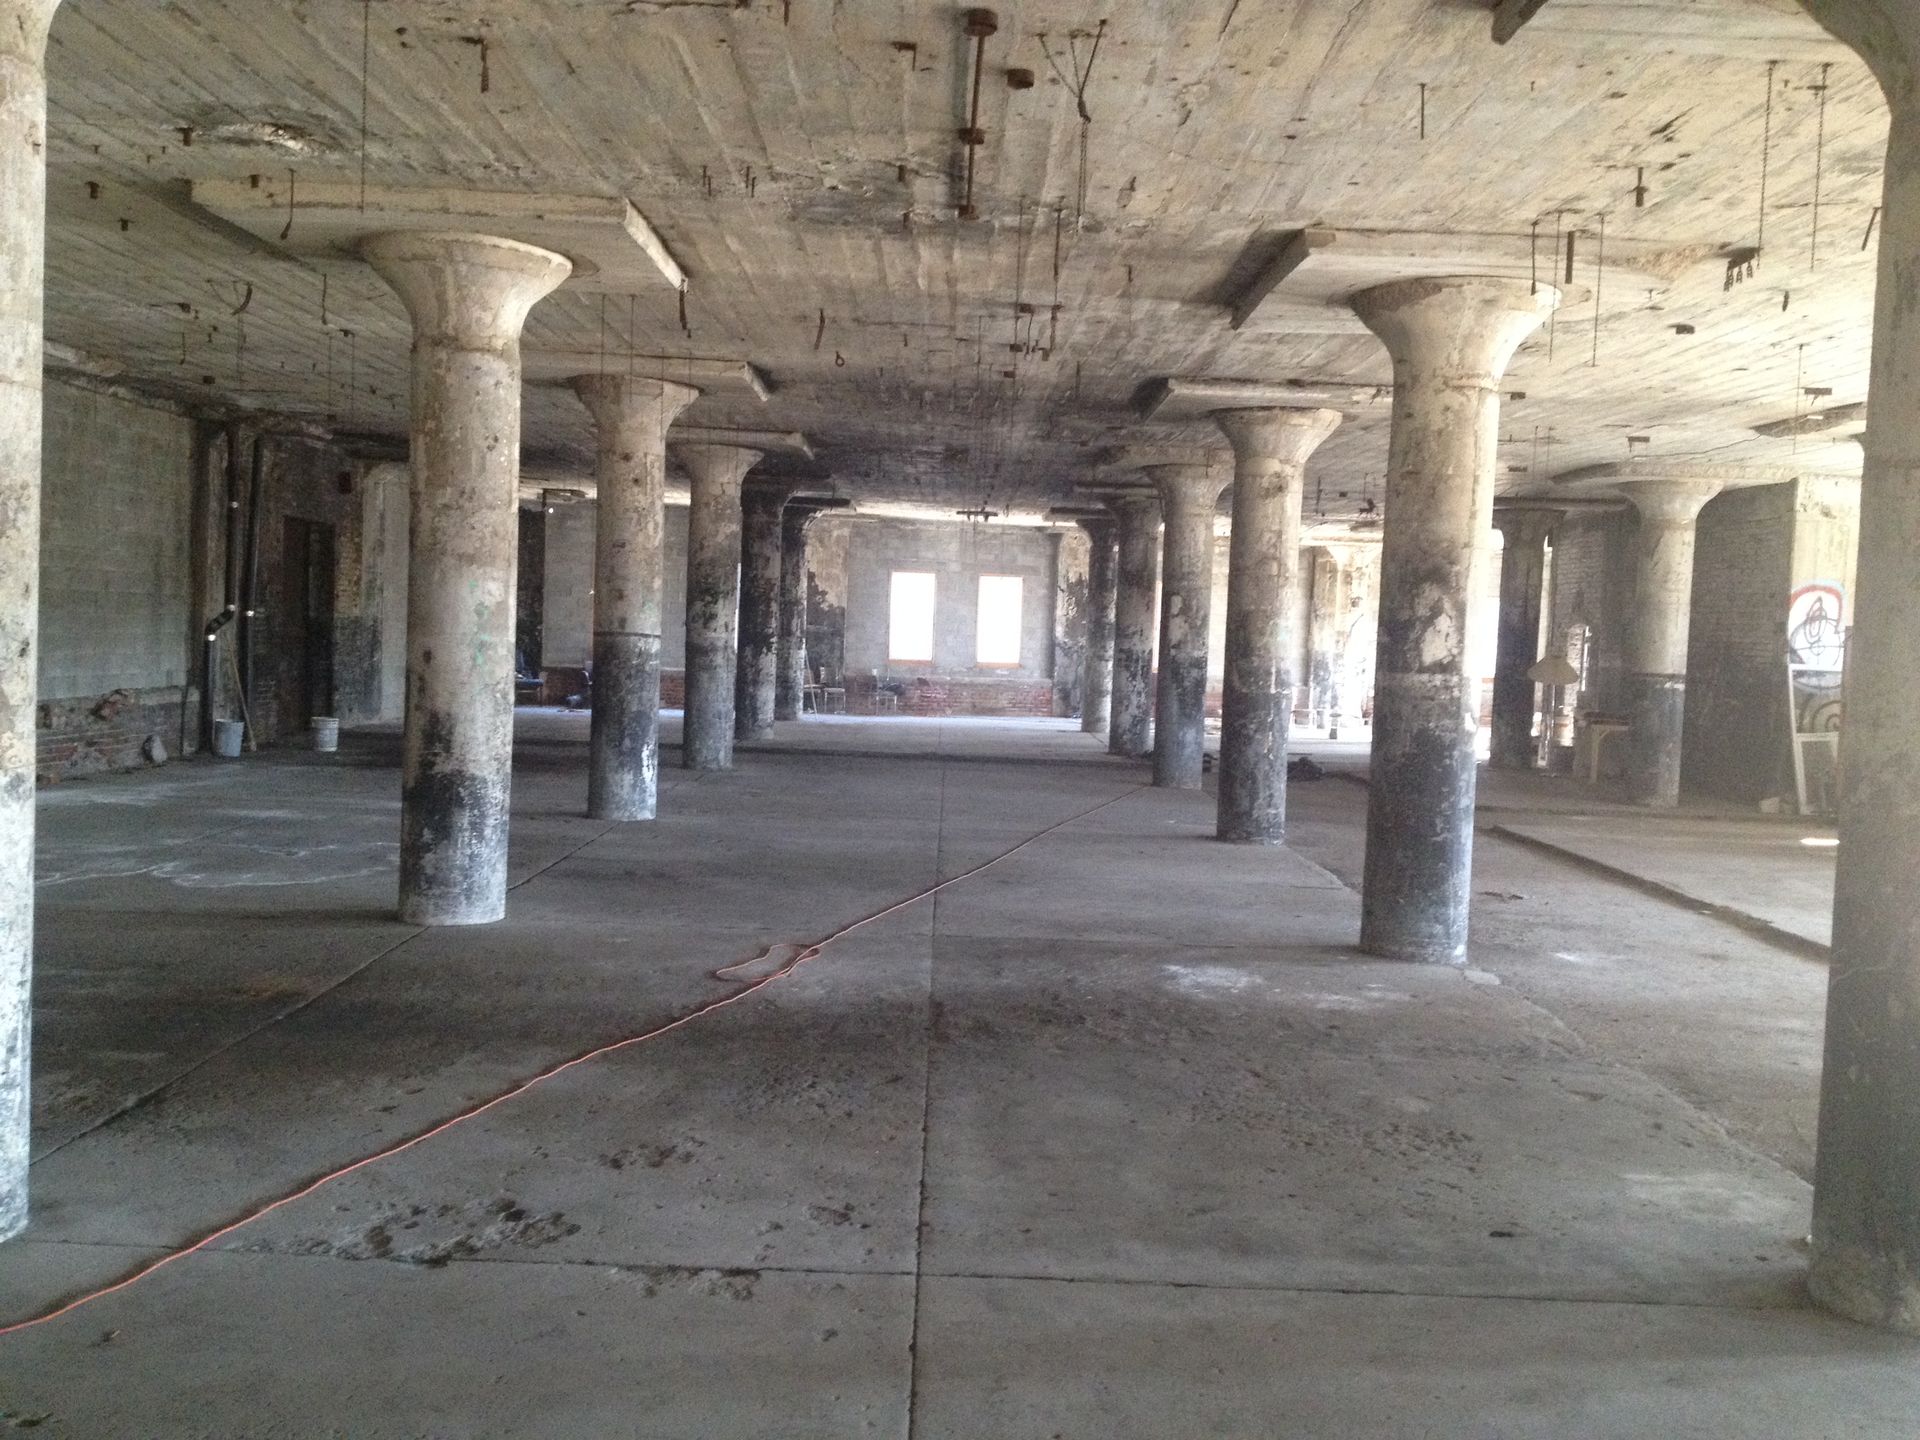
Space for a new chapter
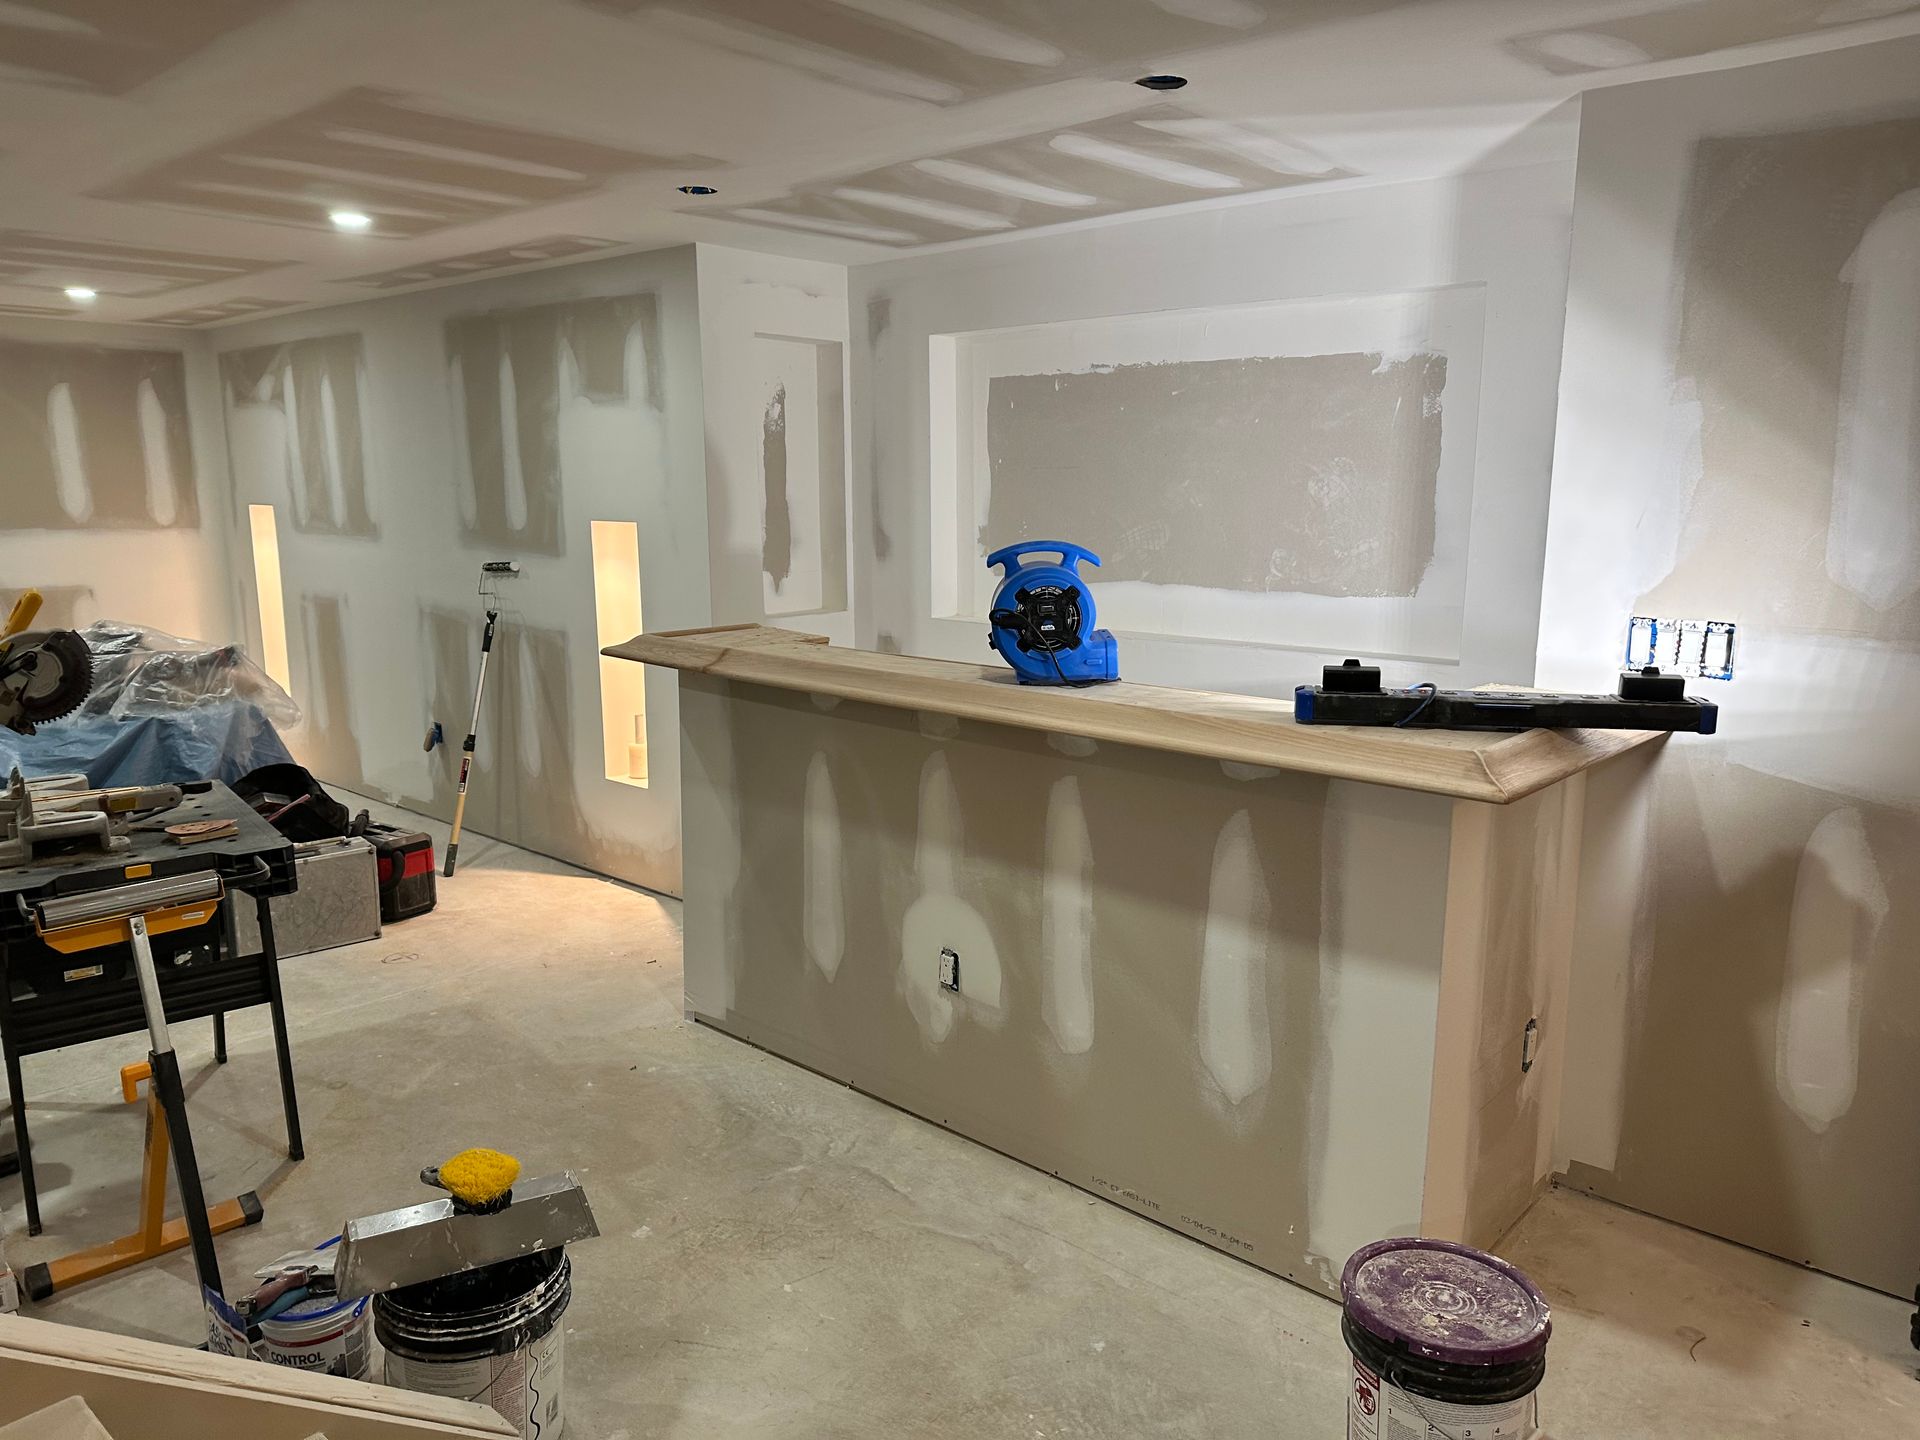
Interior renovation in progress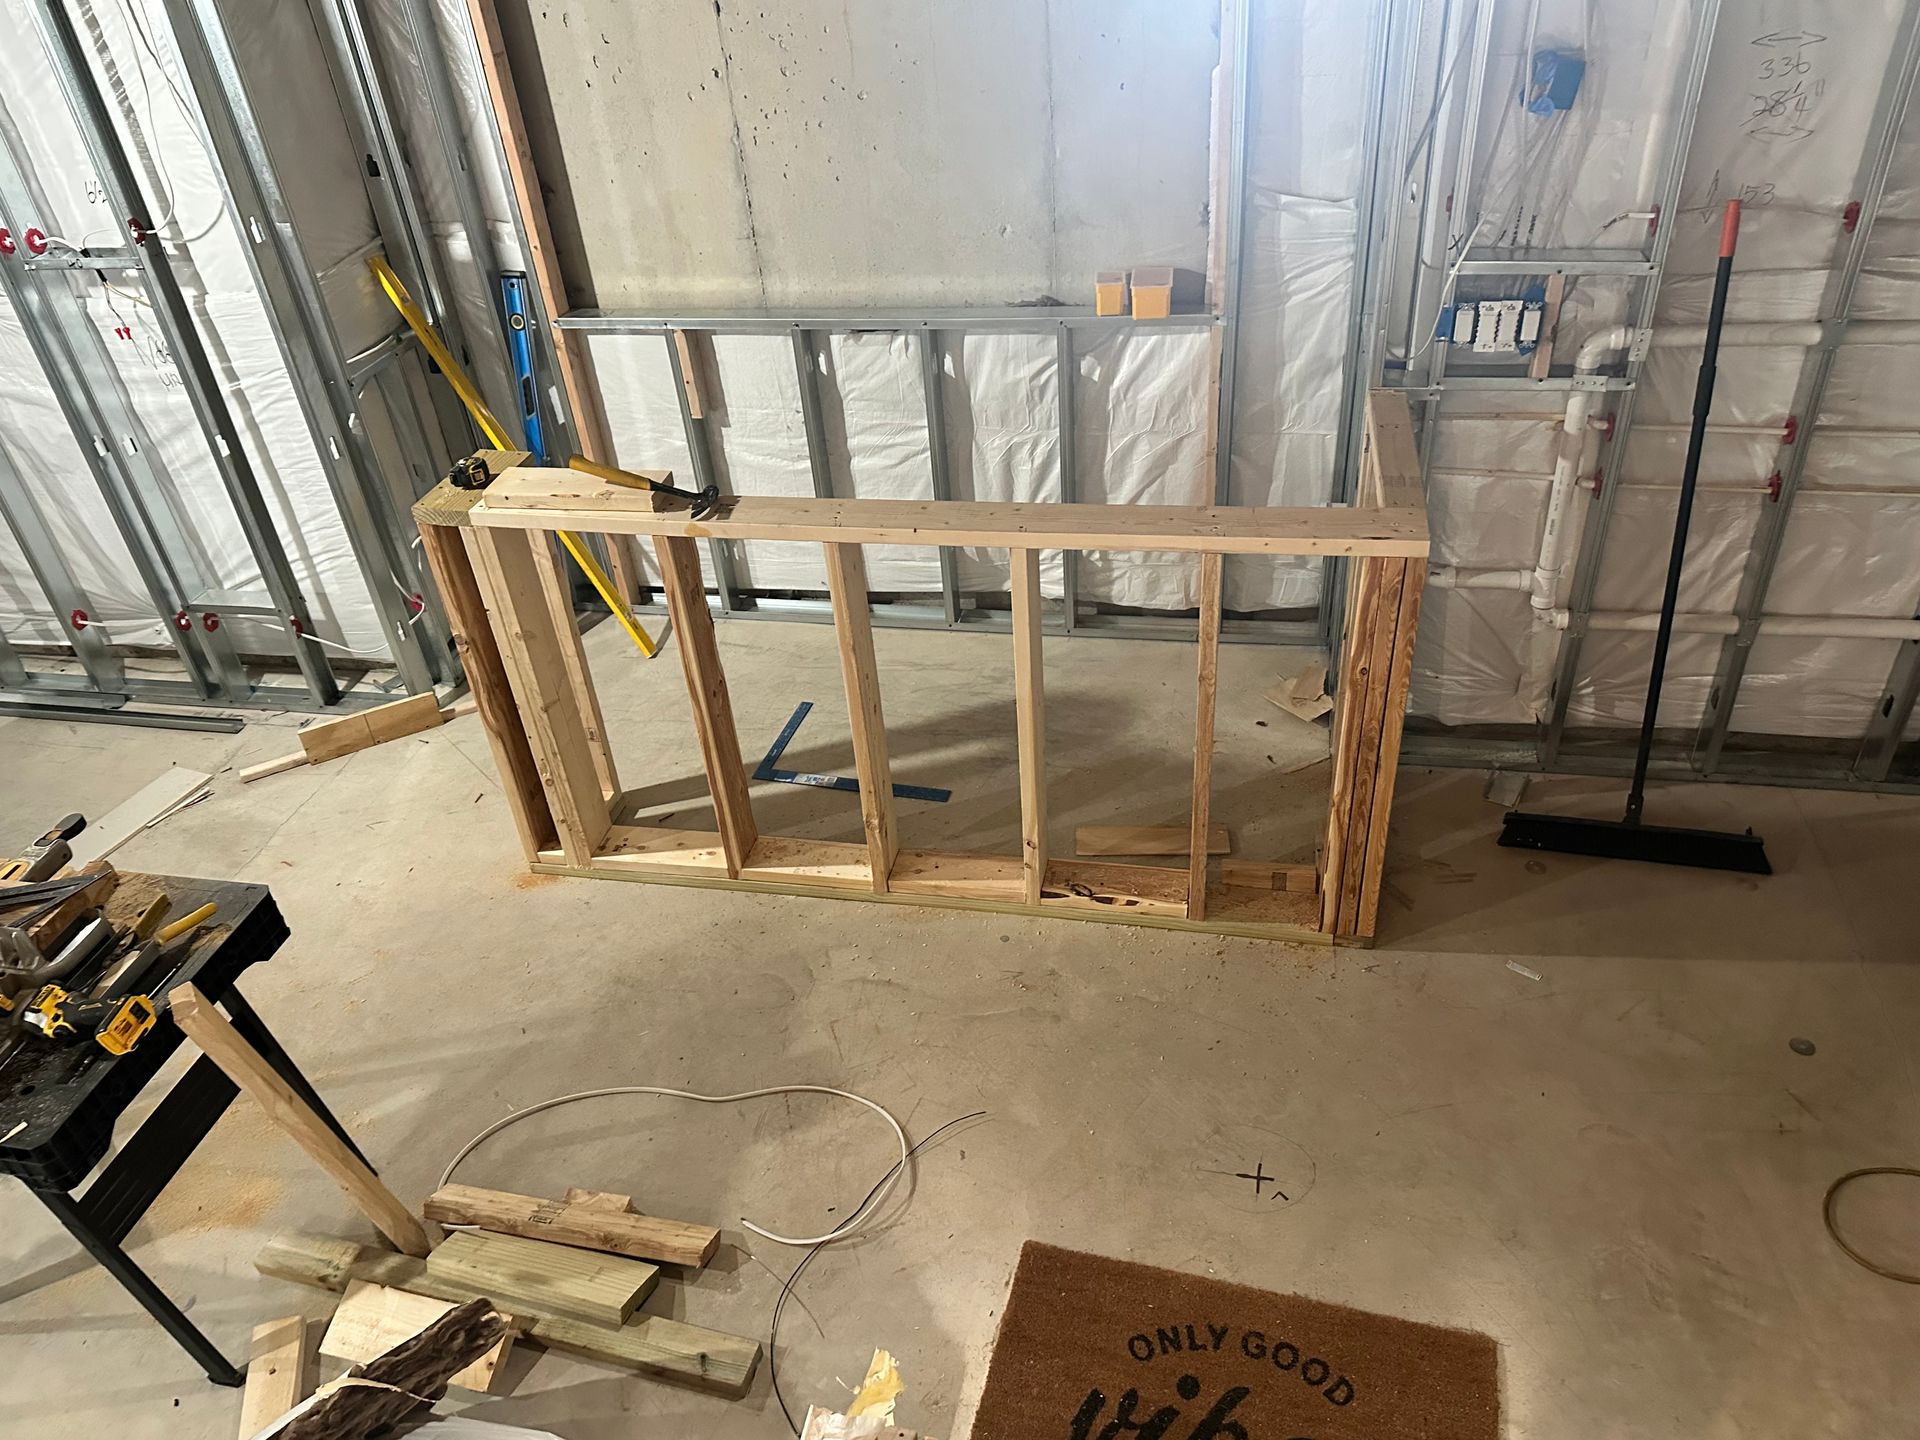
The structure beneath
Framing in progress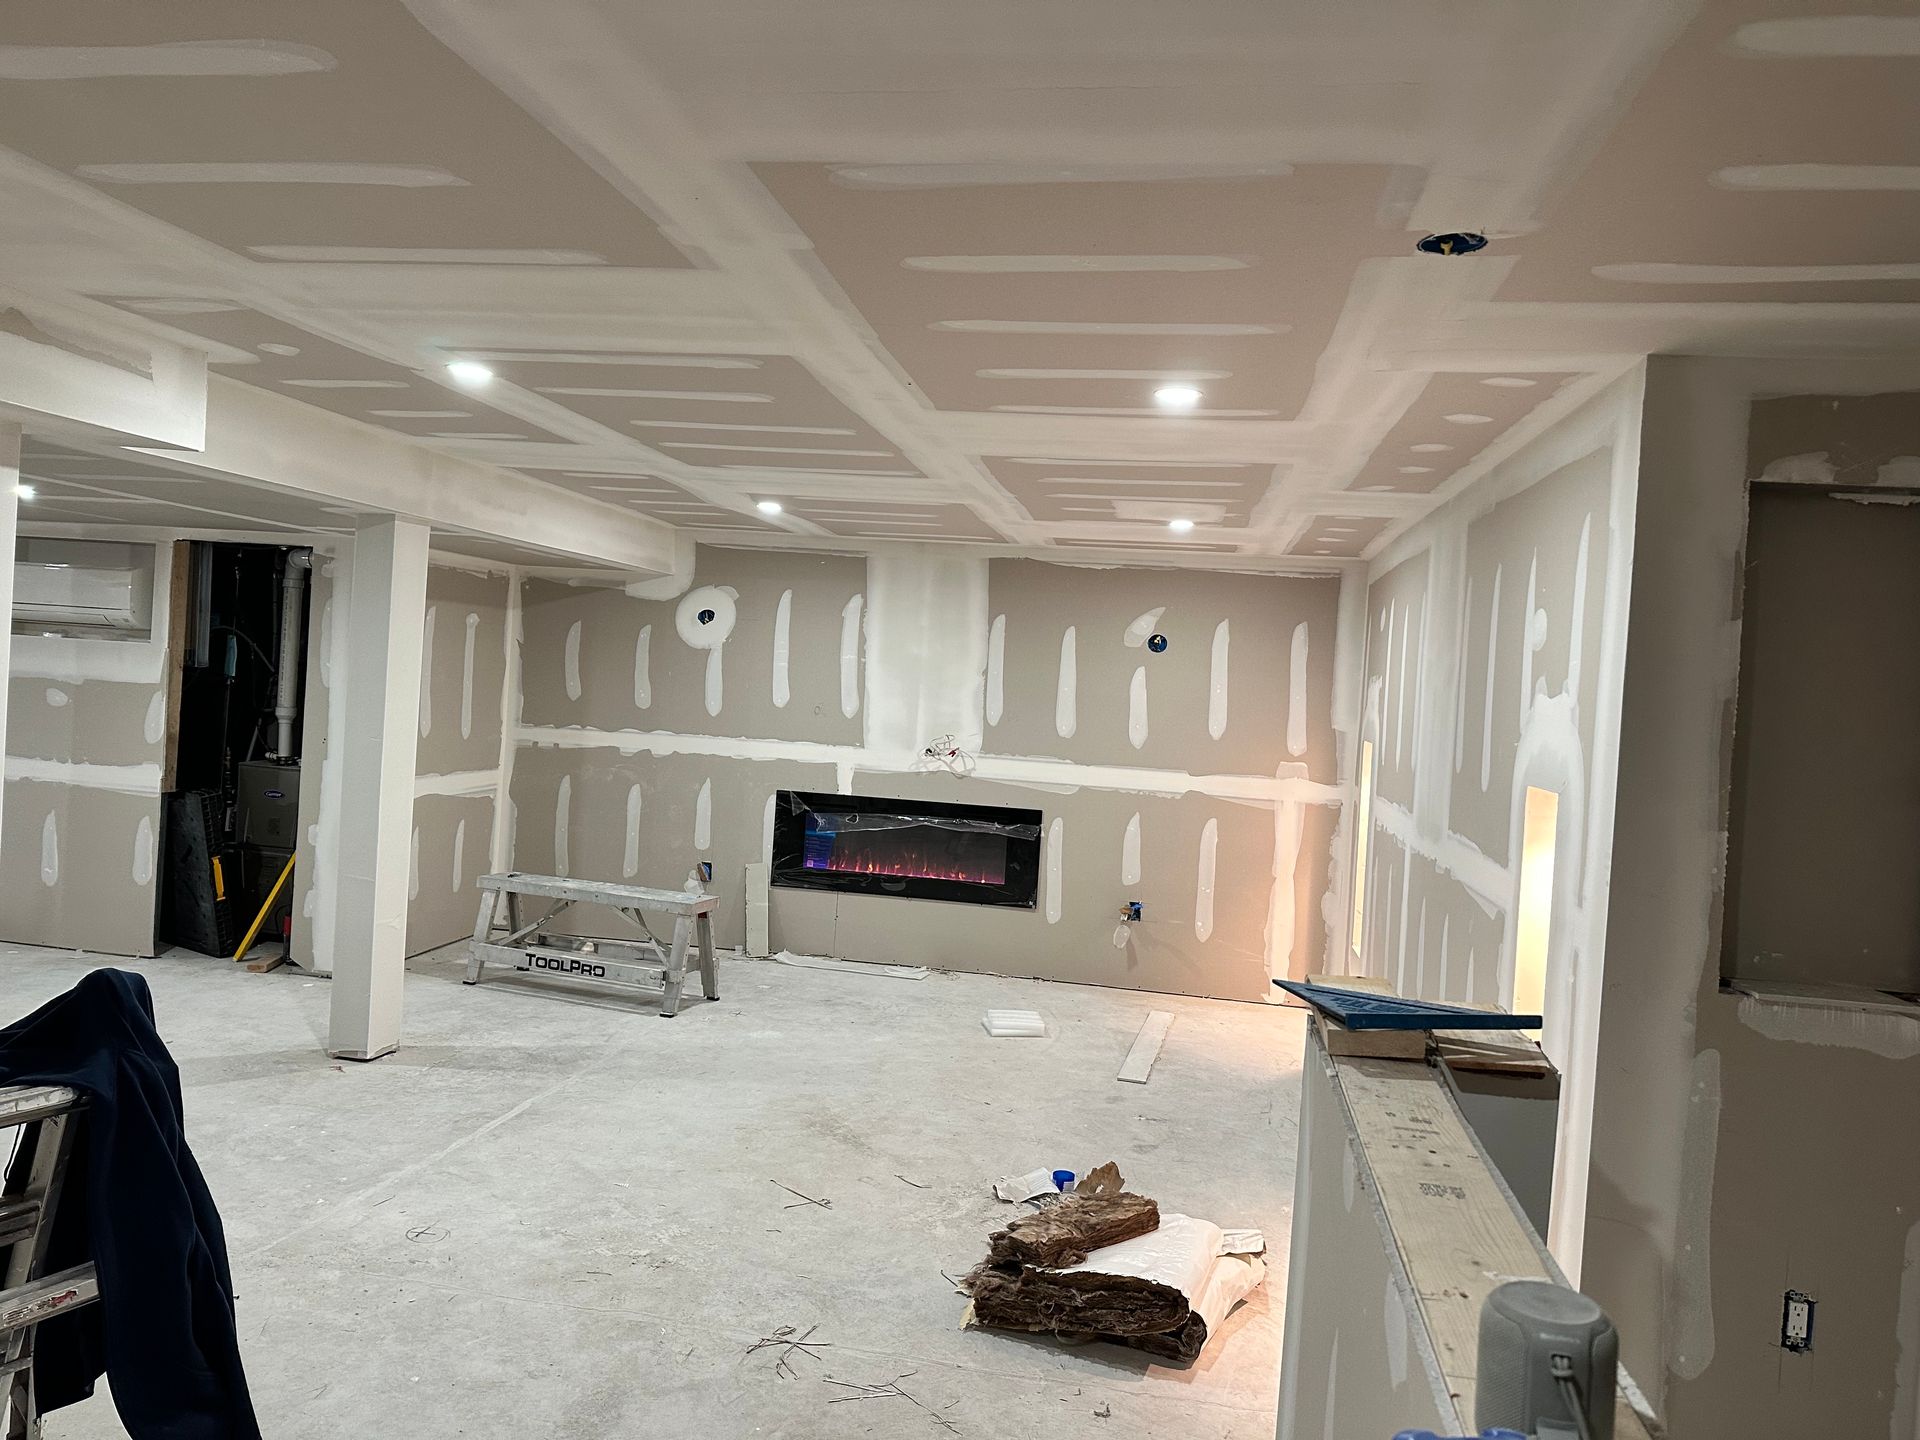
Taking shape
Interior work in progress